Bukhansan Baegundae Peak: Seoul's 4-Hour Hike to the Highest Point
The West entrance to Bukhansan's Baegundae Peak is quieter but easy to get lost on. Wrong turns, steep rocks, panoramic Seoul views. Here's the 4-hour route.
| Table of Contents |
|---|
|
1. Bukhansan's 2 entrances 2. Starting the hike 3. Ascending the peak 4. Baegundae Peak 5. Descending 6. Thoughts on hiking Baegundae Peak |
For Day 2 of my Seoul trip in spring 2024, I decided to tackle a hike at Bukhansan National Park, particularly the popular Baegundae Peak.
When planning my trip to Seoul, one of the highlights on my list was hiking Bukhansan—a stunning national park that is only a 1 hour train ride from the main city.
Bukhansan's 2 entrances
However, I made the rookie mistake of doing this hike too early in my trip, which left me barely able to walk without pain for the next five days 🥲
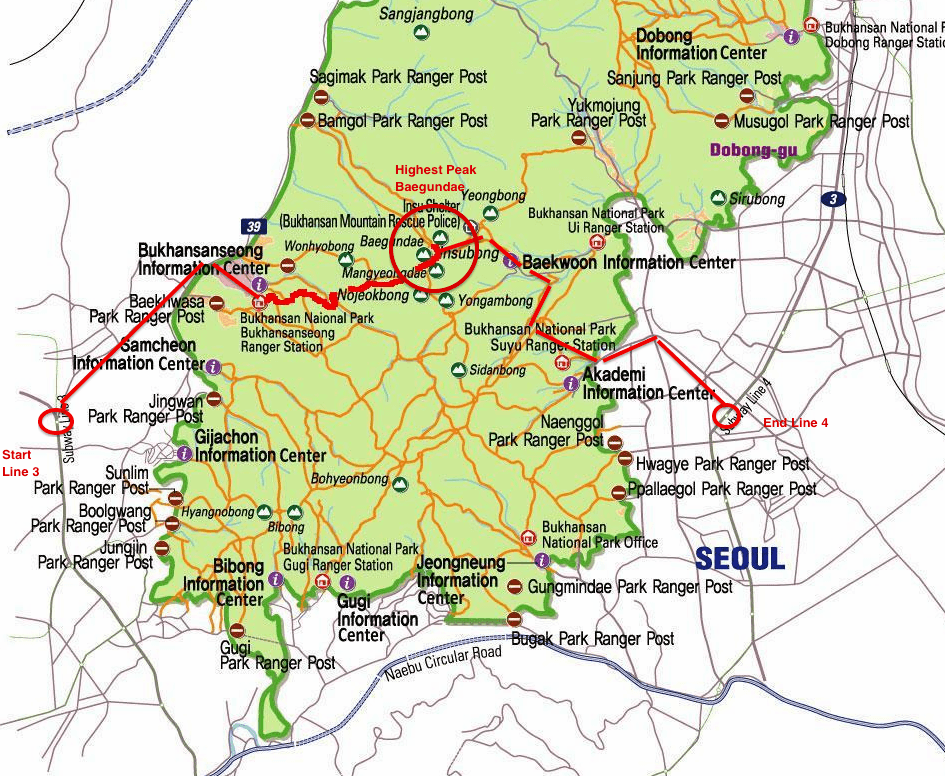
There are actually two main entrances to Bukhansan National Park: the West and the East. Since I was staying in Hongdae, I opted for the West entrance.
Choosing which way to hike definitely affects your hiking route, but it ultimately depends on which area you stay. If you are staying around Myeongdong or even further east, the East entrance would be more convenient to access.
Starting the Hike
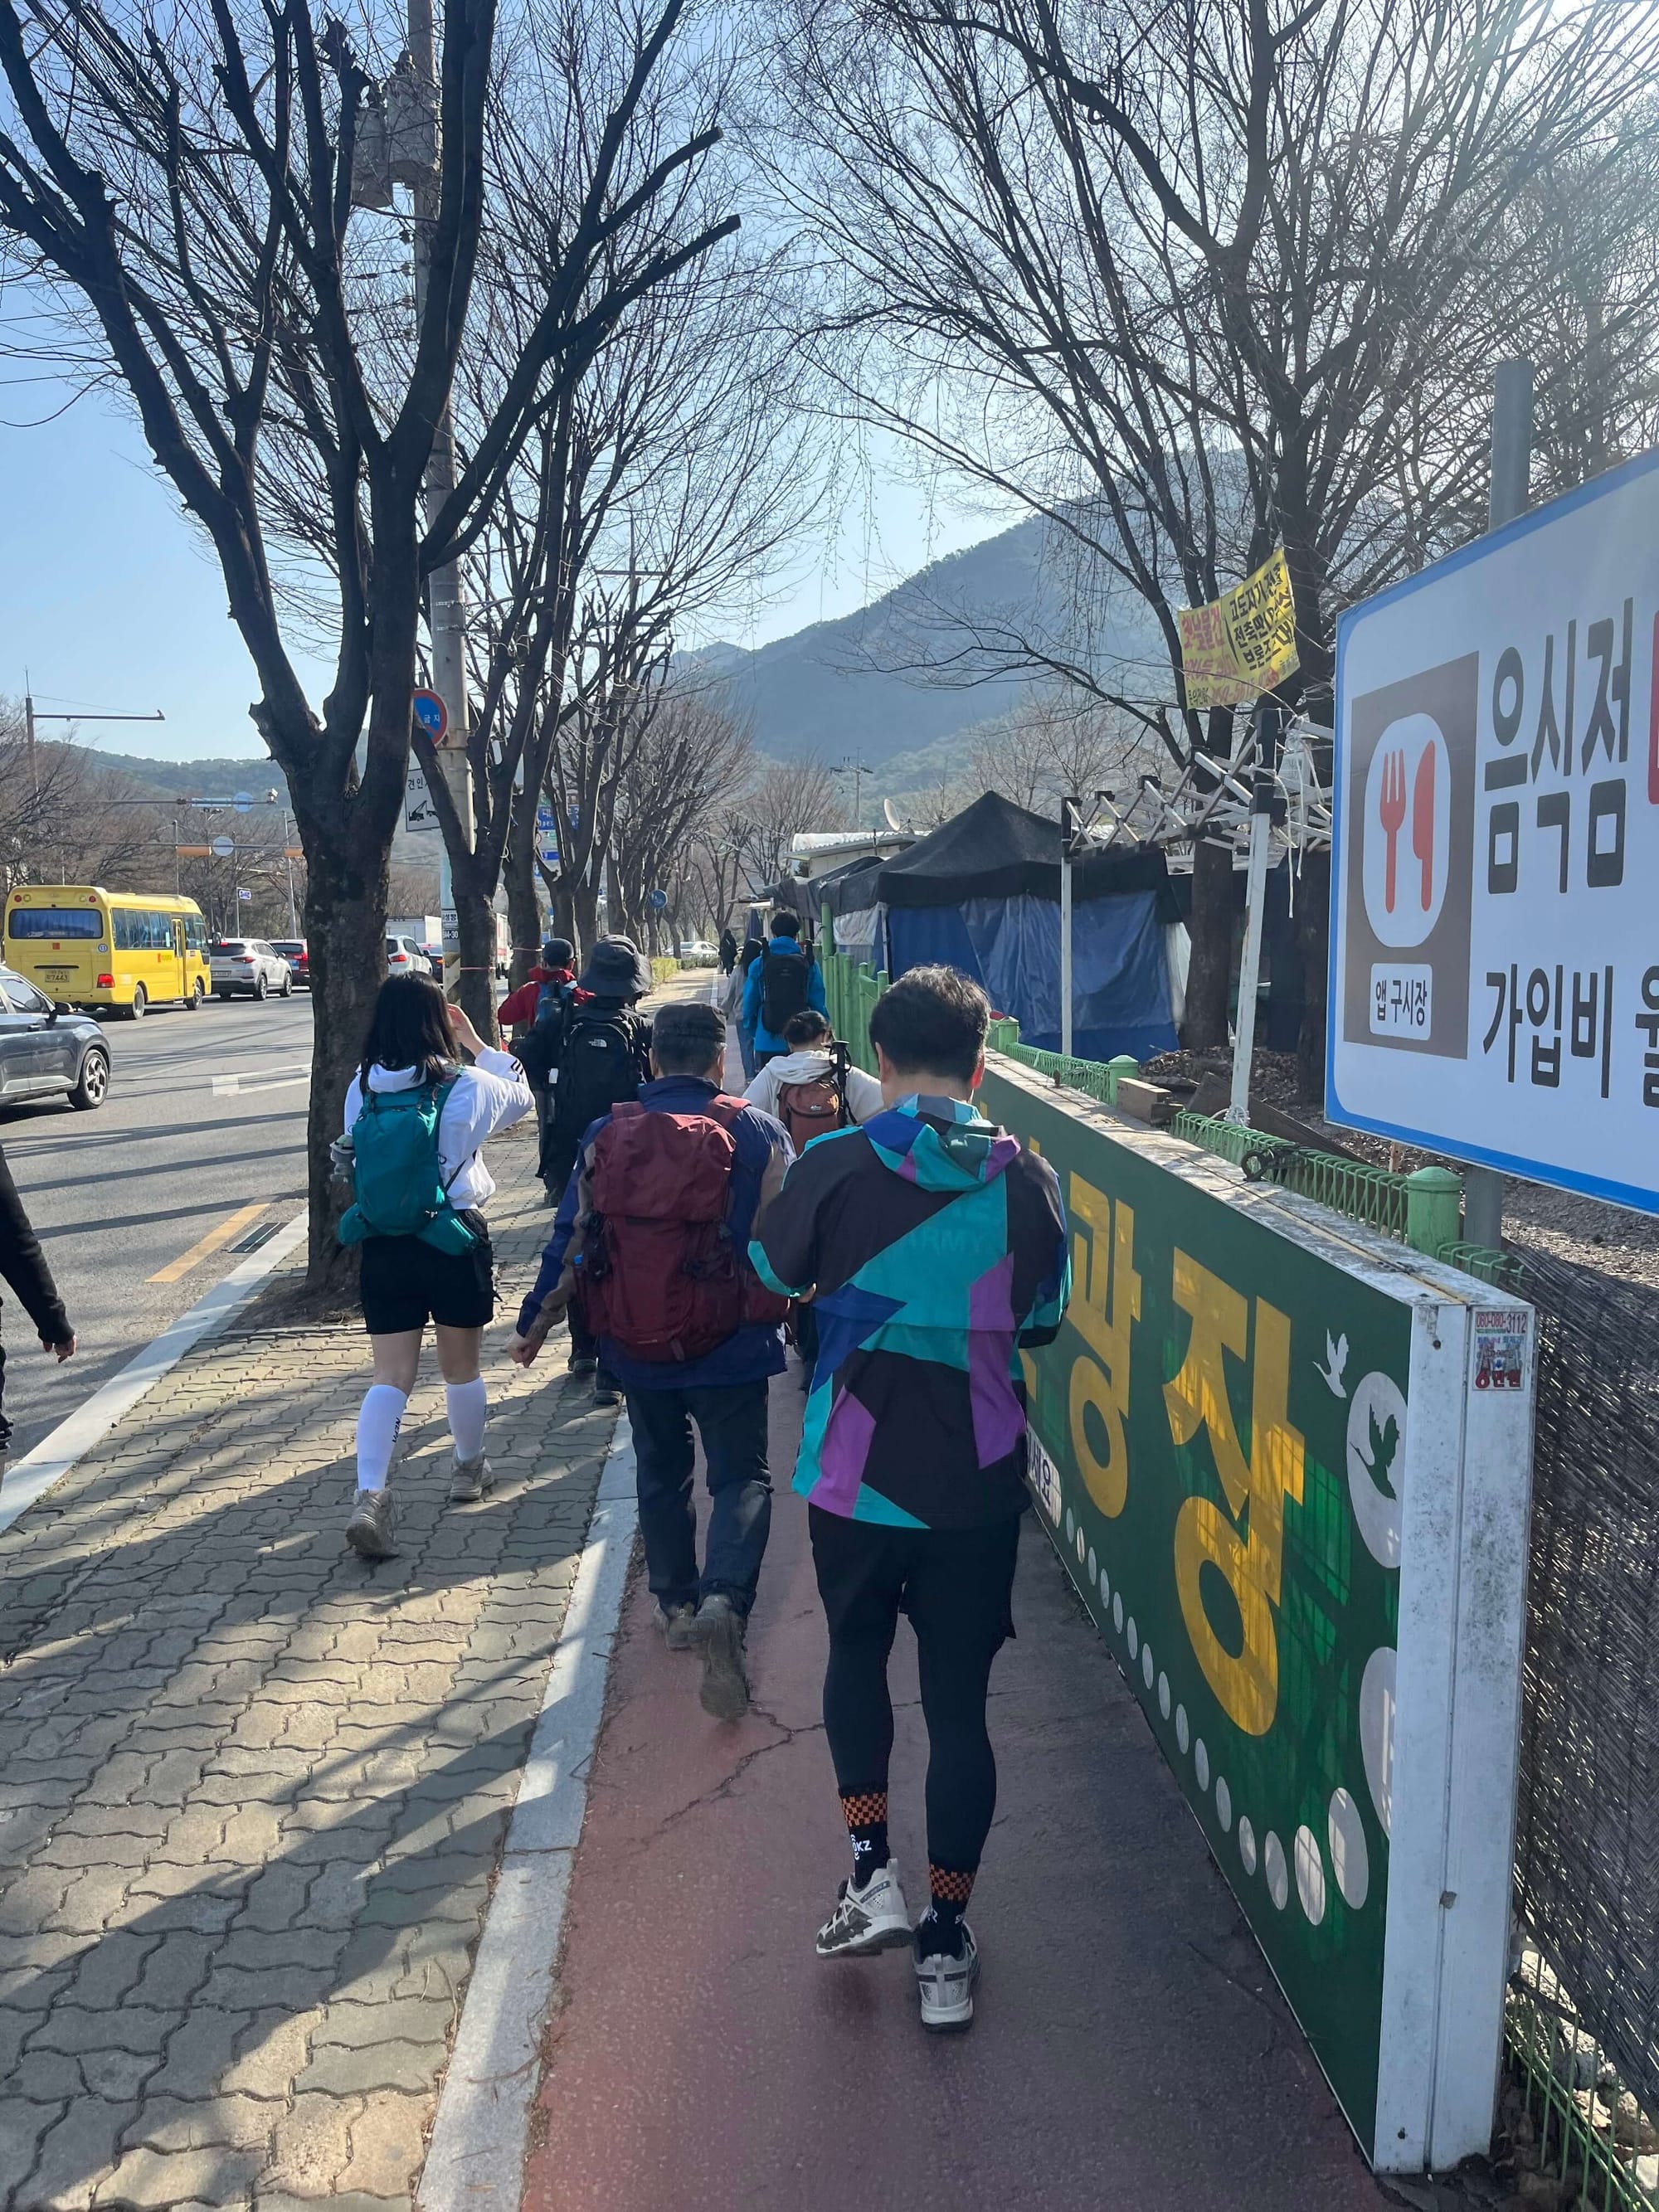
As I started the hike, I found the initial trail to be quite gentle, which gave me a false sense of security. It felt really chill, with the sounds of nature surrounding me. However, as I progressed, I quickly realized that this route was mostly deserted.
On one hand, the isolation was peaceful; on the other, I often questioned whether I was still on the right track. There were moments when I felt totally lost and had to backtrack my steps, especially when the signs went missing.
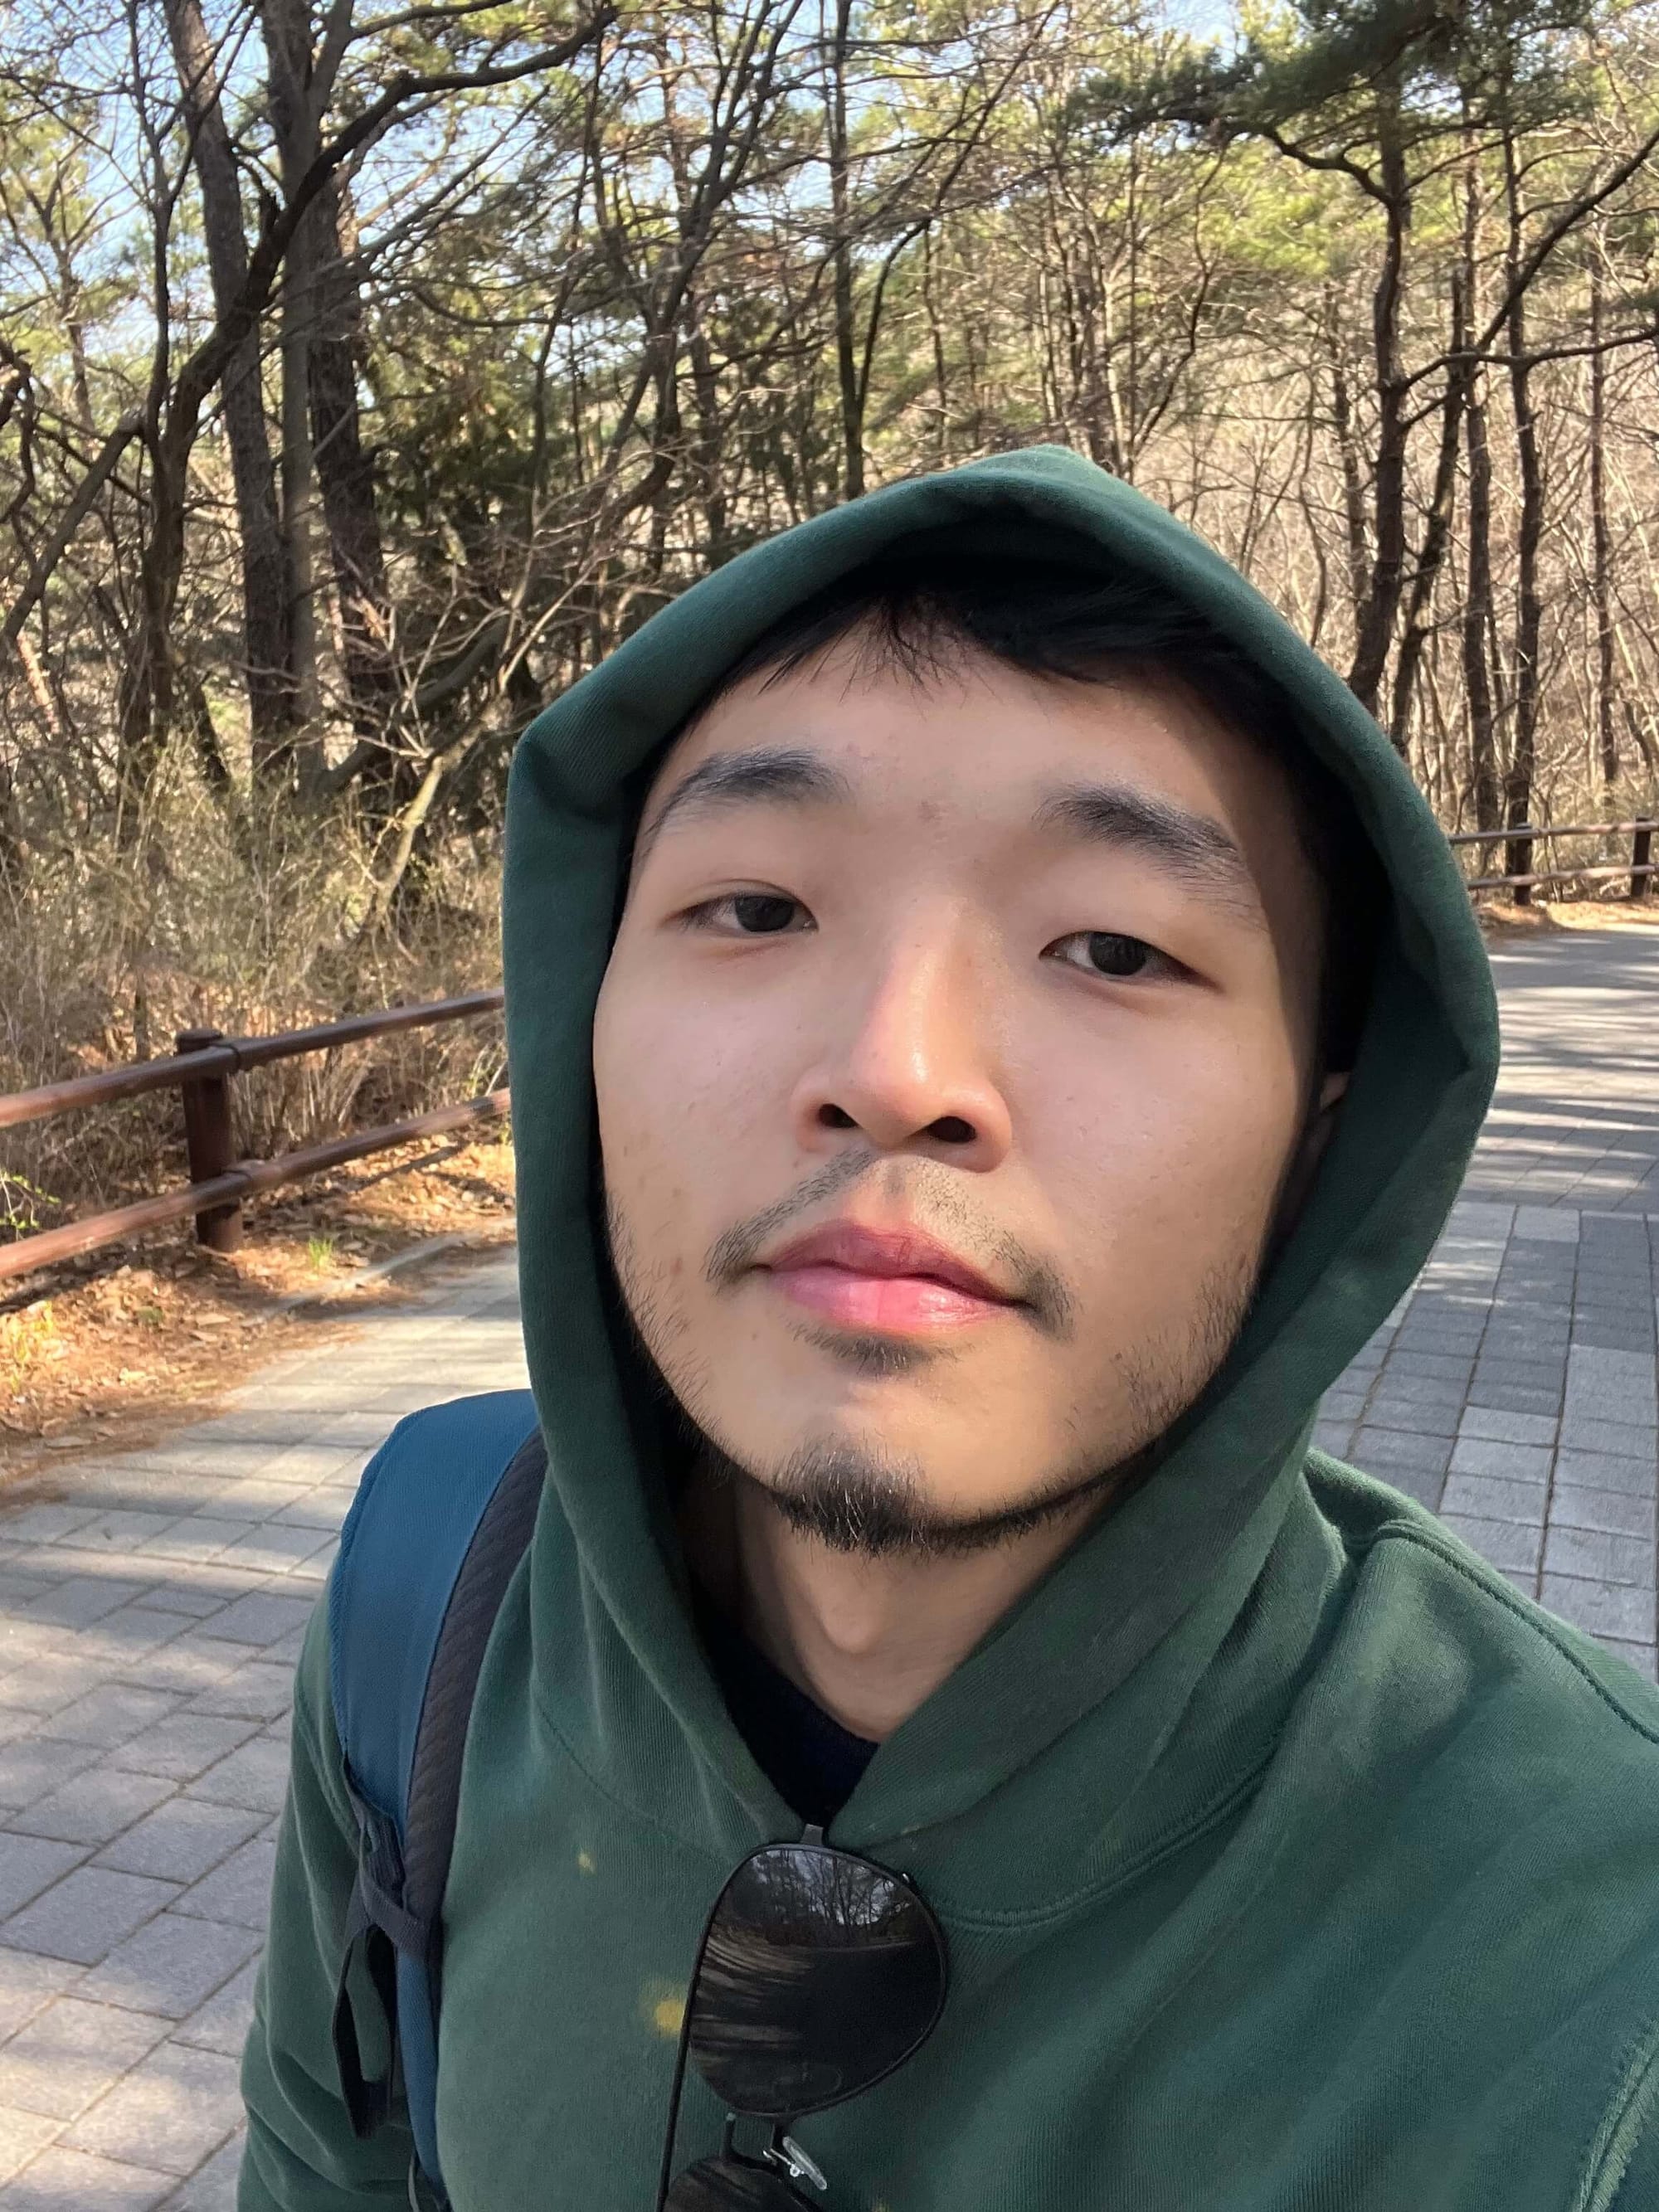
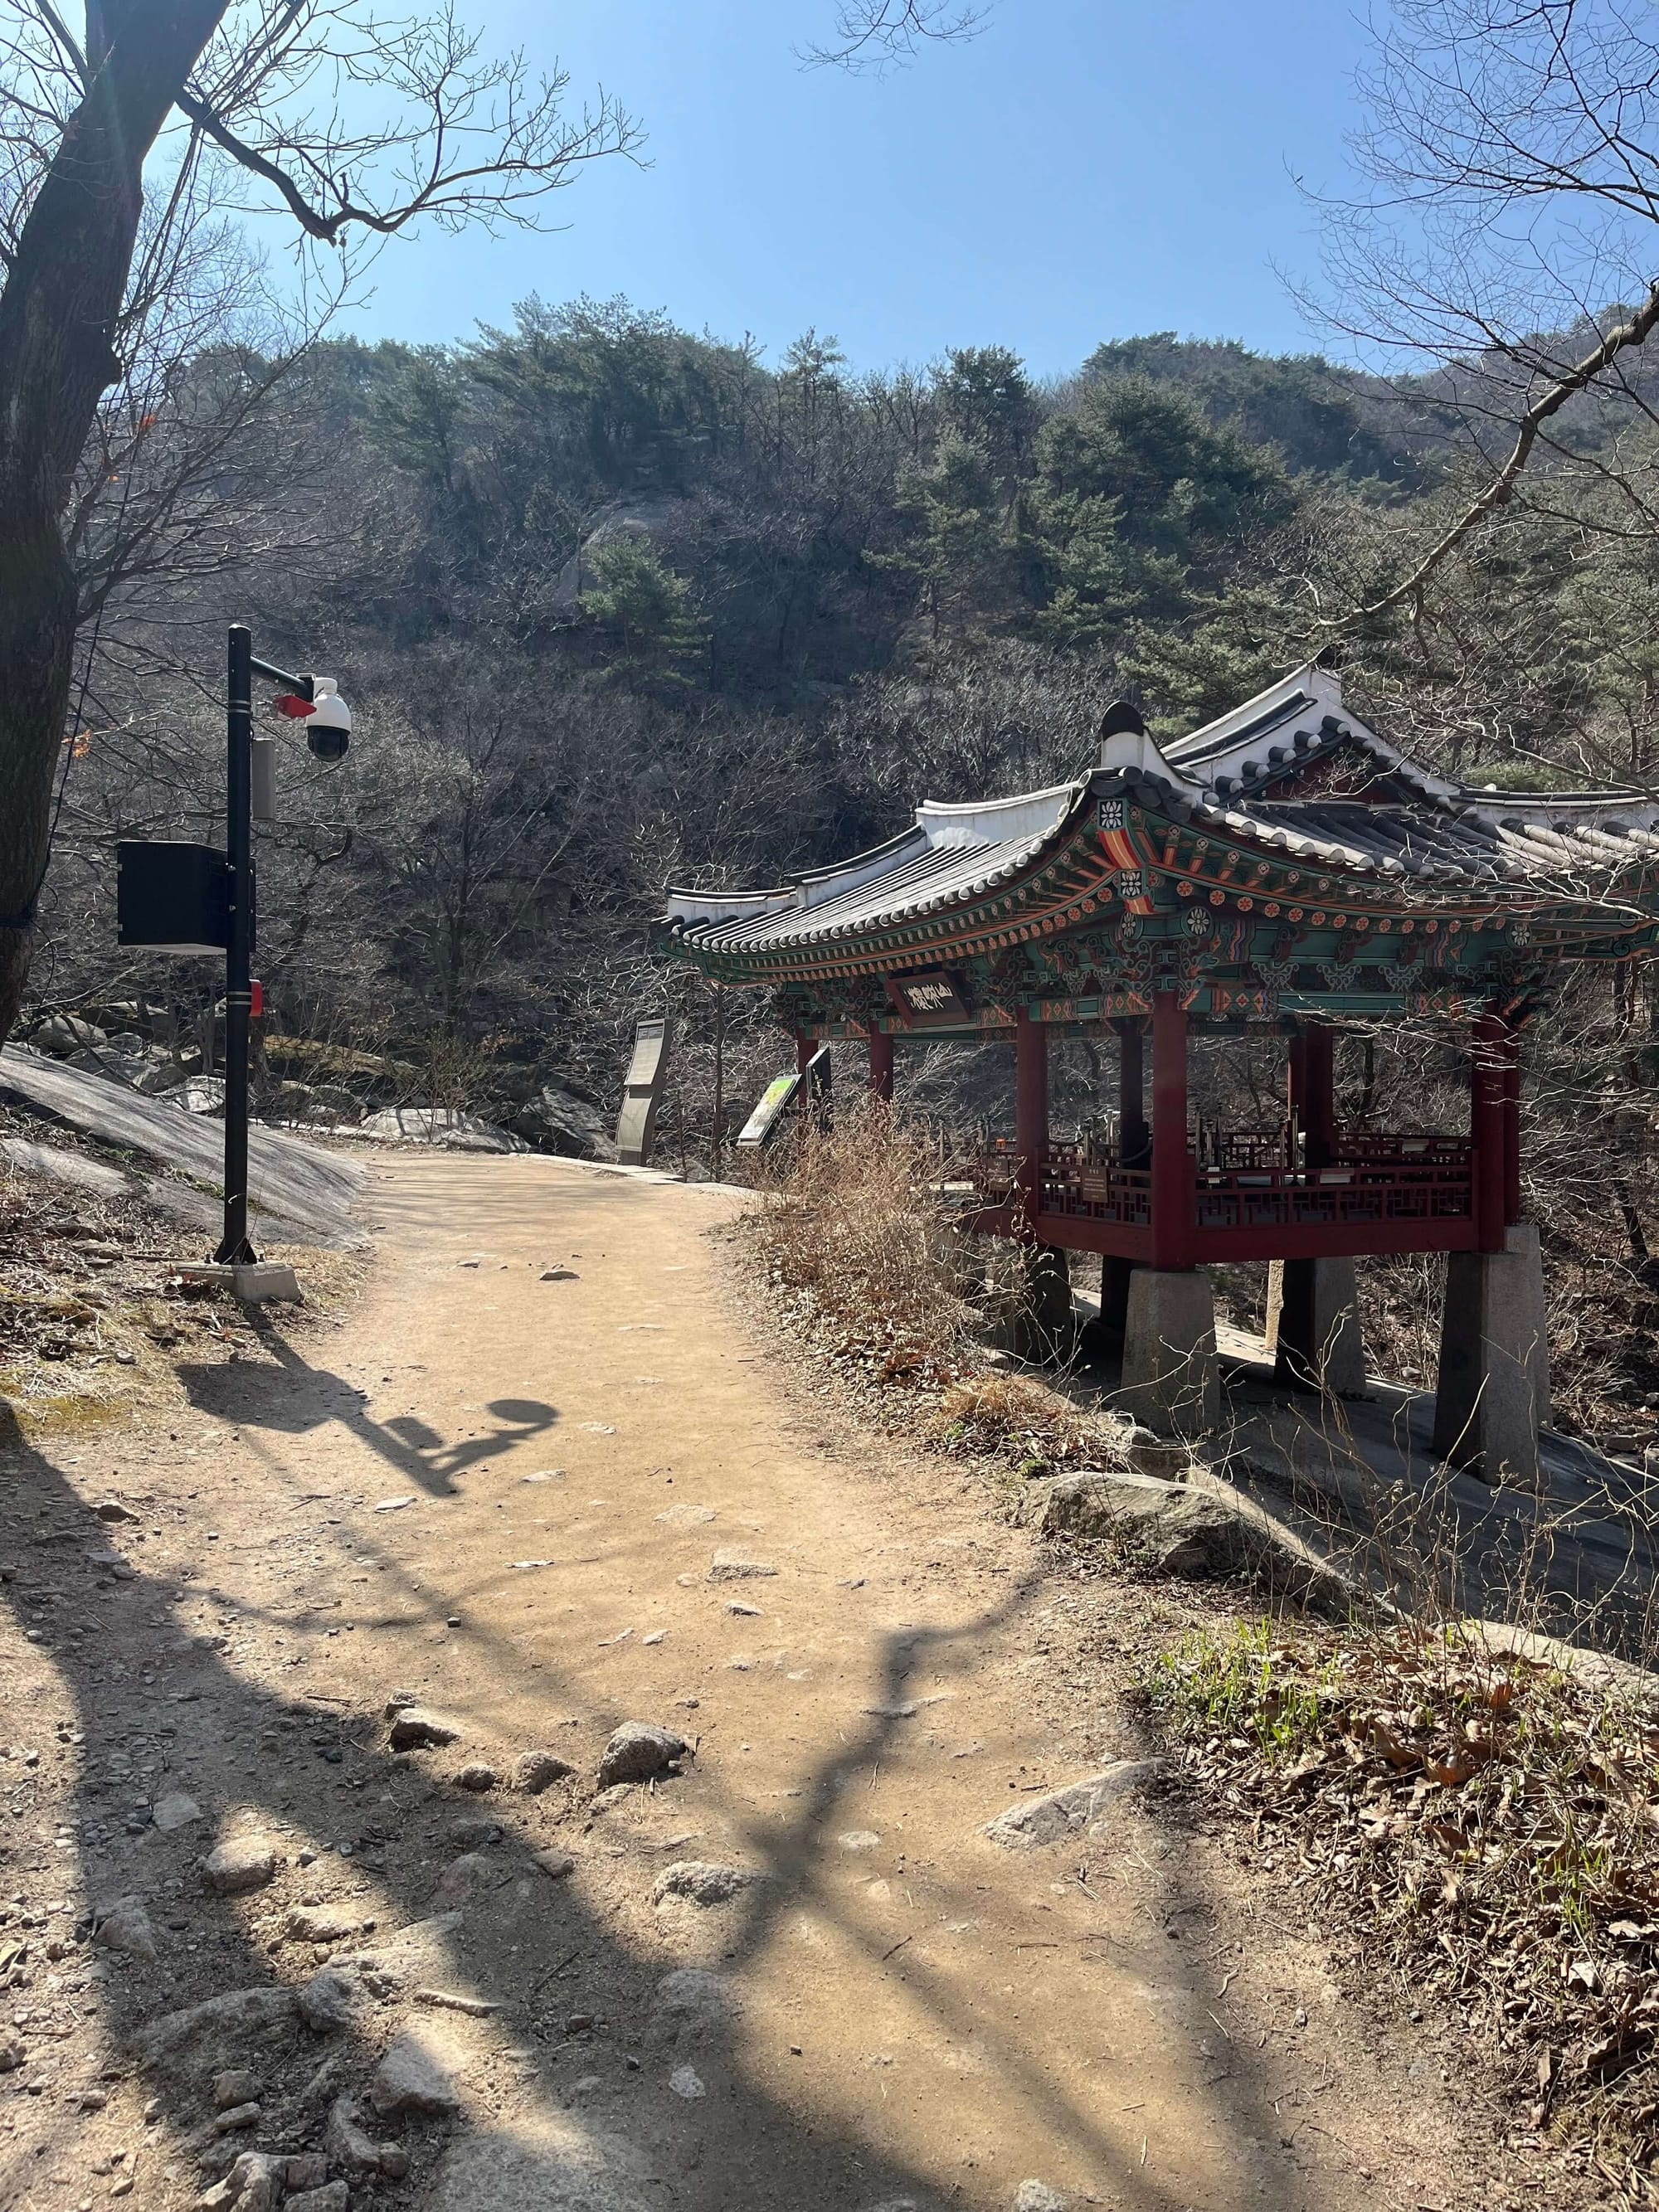
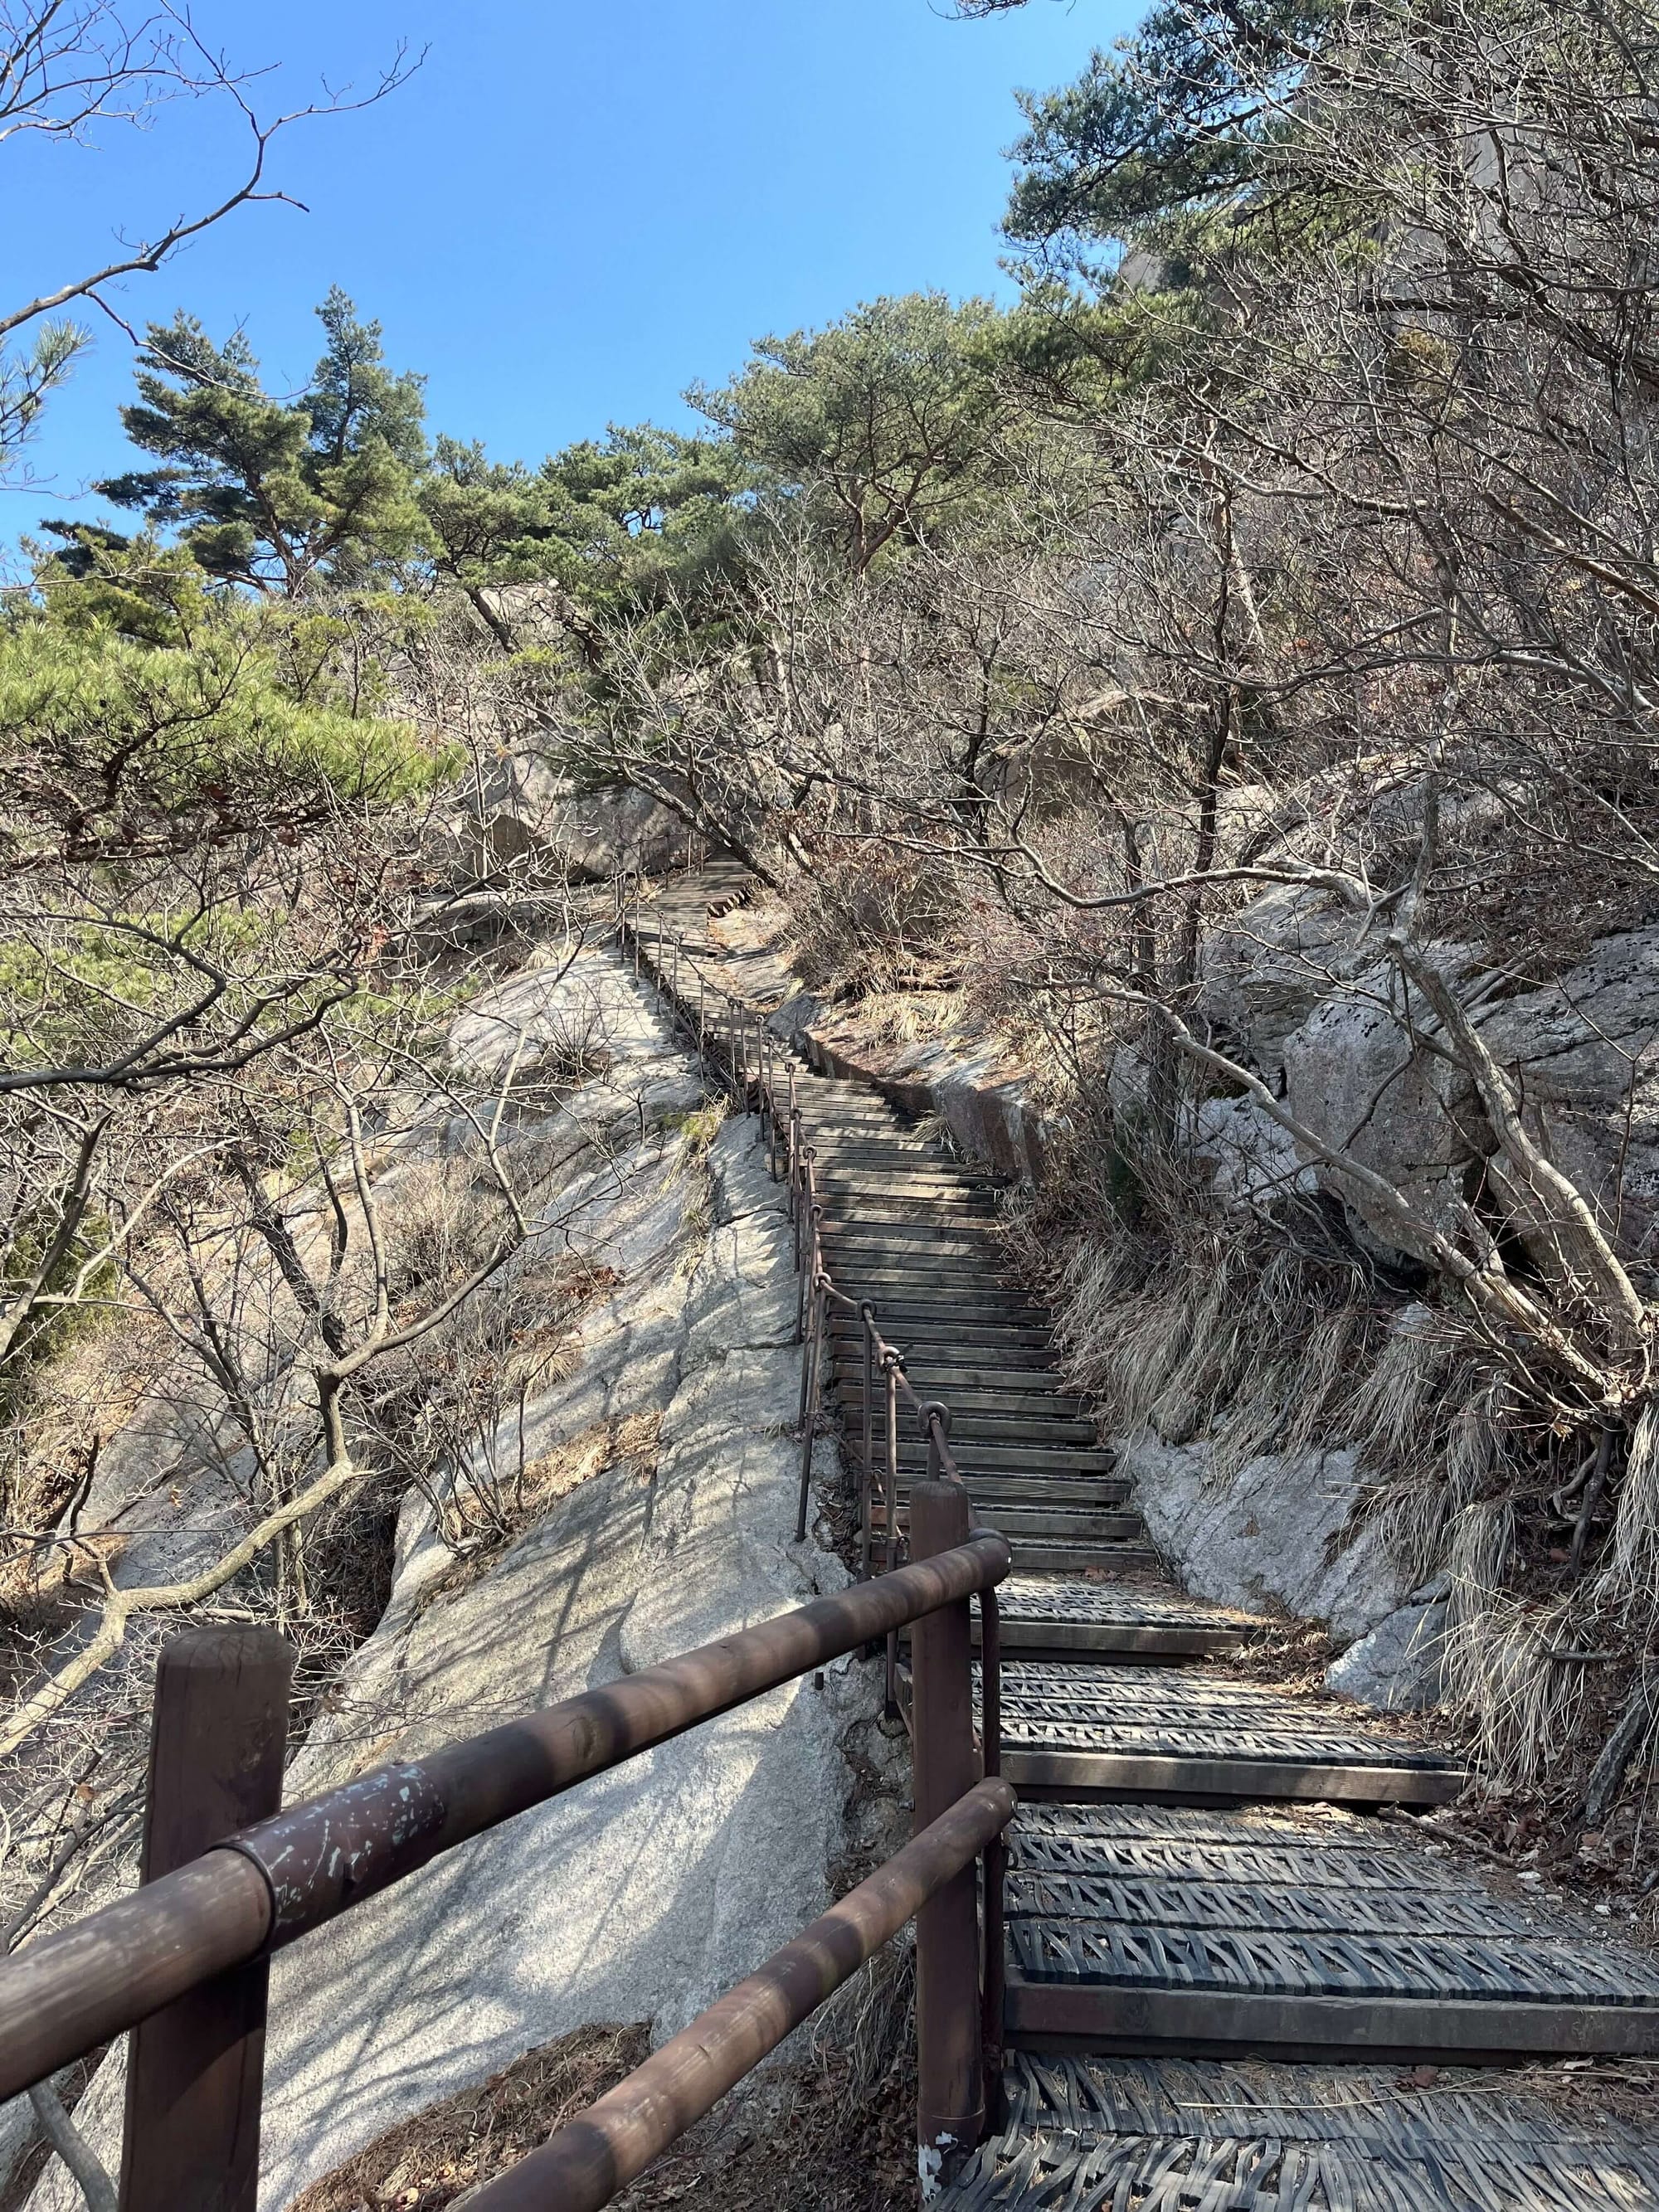
This was how quiet my route looked
After about 2 hours of hiking and getting lost, the West and East routes converge at the famous fortress wall in Bukhansan. For West entrance hikers, you just need to follow along the fortress wall and you will not get lost.
You'll be able to see hikers streaming in from the East route. This is also where things started to get significantly more challenging.
Ascending the Baegundae Summit
The path up to the Peak is a bit more intense. As I got closer, that nice shade I've had starts to disappear, leaving me hiking in direct sunlight for about 30 minutes. The steps get narrower and steeper, too—at times, I was faced with smooth stone and need to use metal ropes just to pull myself up.
A couple of essentials for this section: first, gloves. Grabbing onto those ropes is a must, but they’re frayed in places and handled by countless hikers.Gloves help prevent any unwanted cuts.
Second, solid sun protection. Think a wide-brimmed hat or even a face shield if you want to avoid getting scorched in that relentless sun.
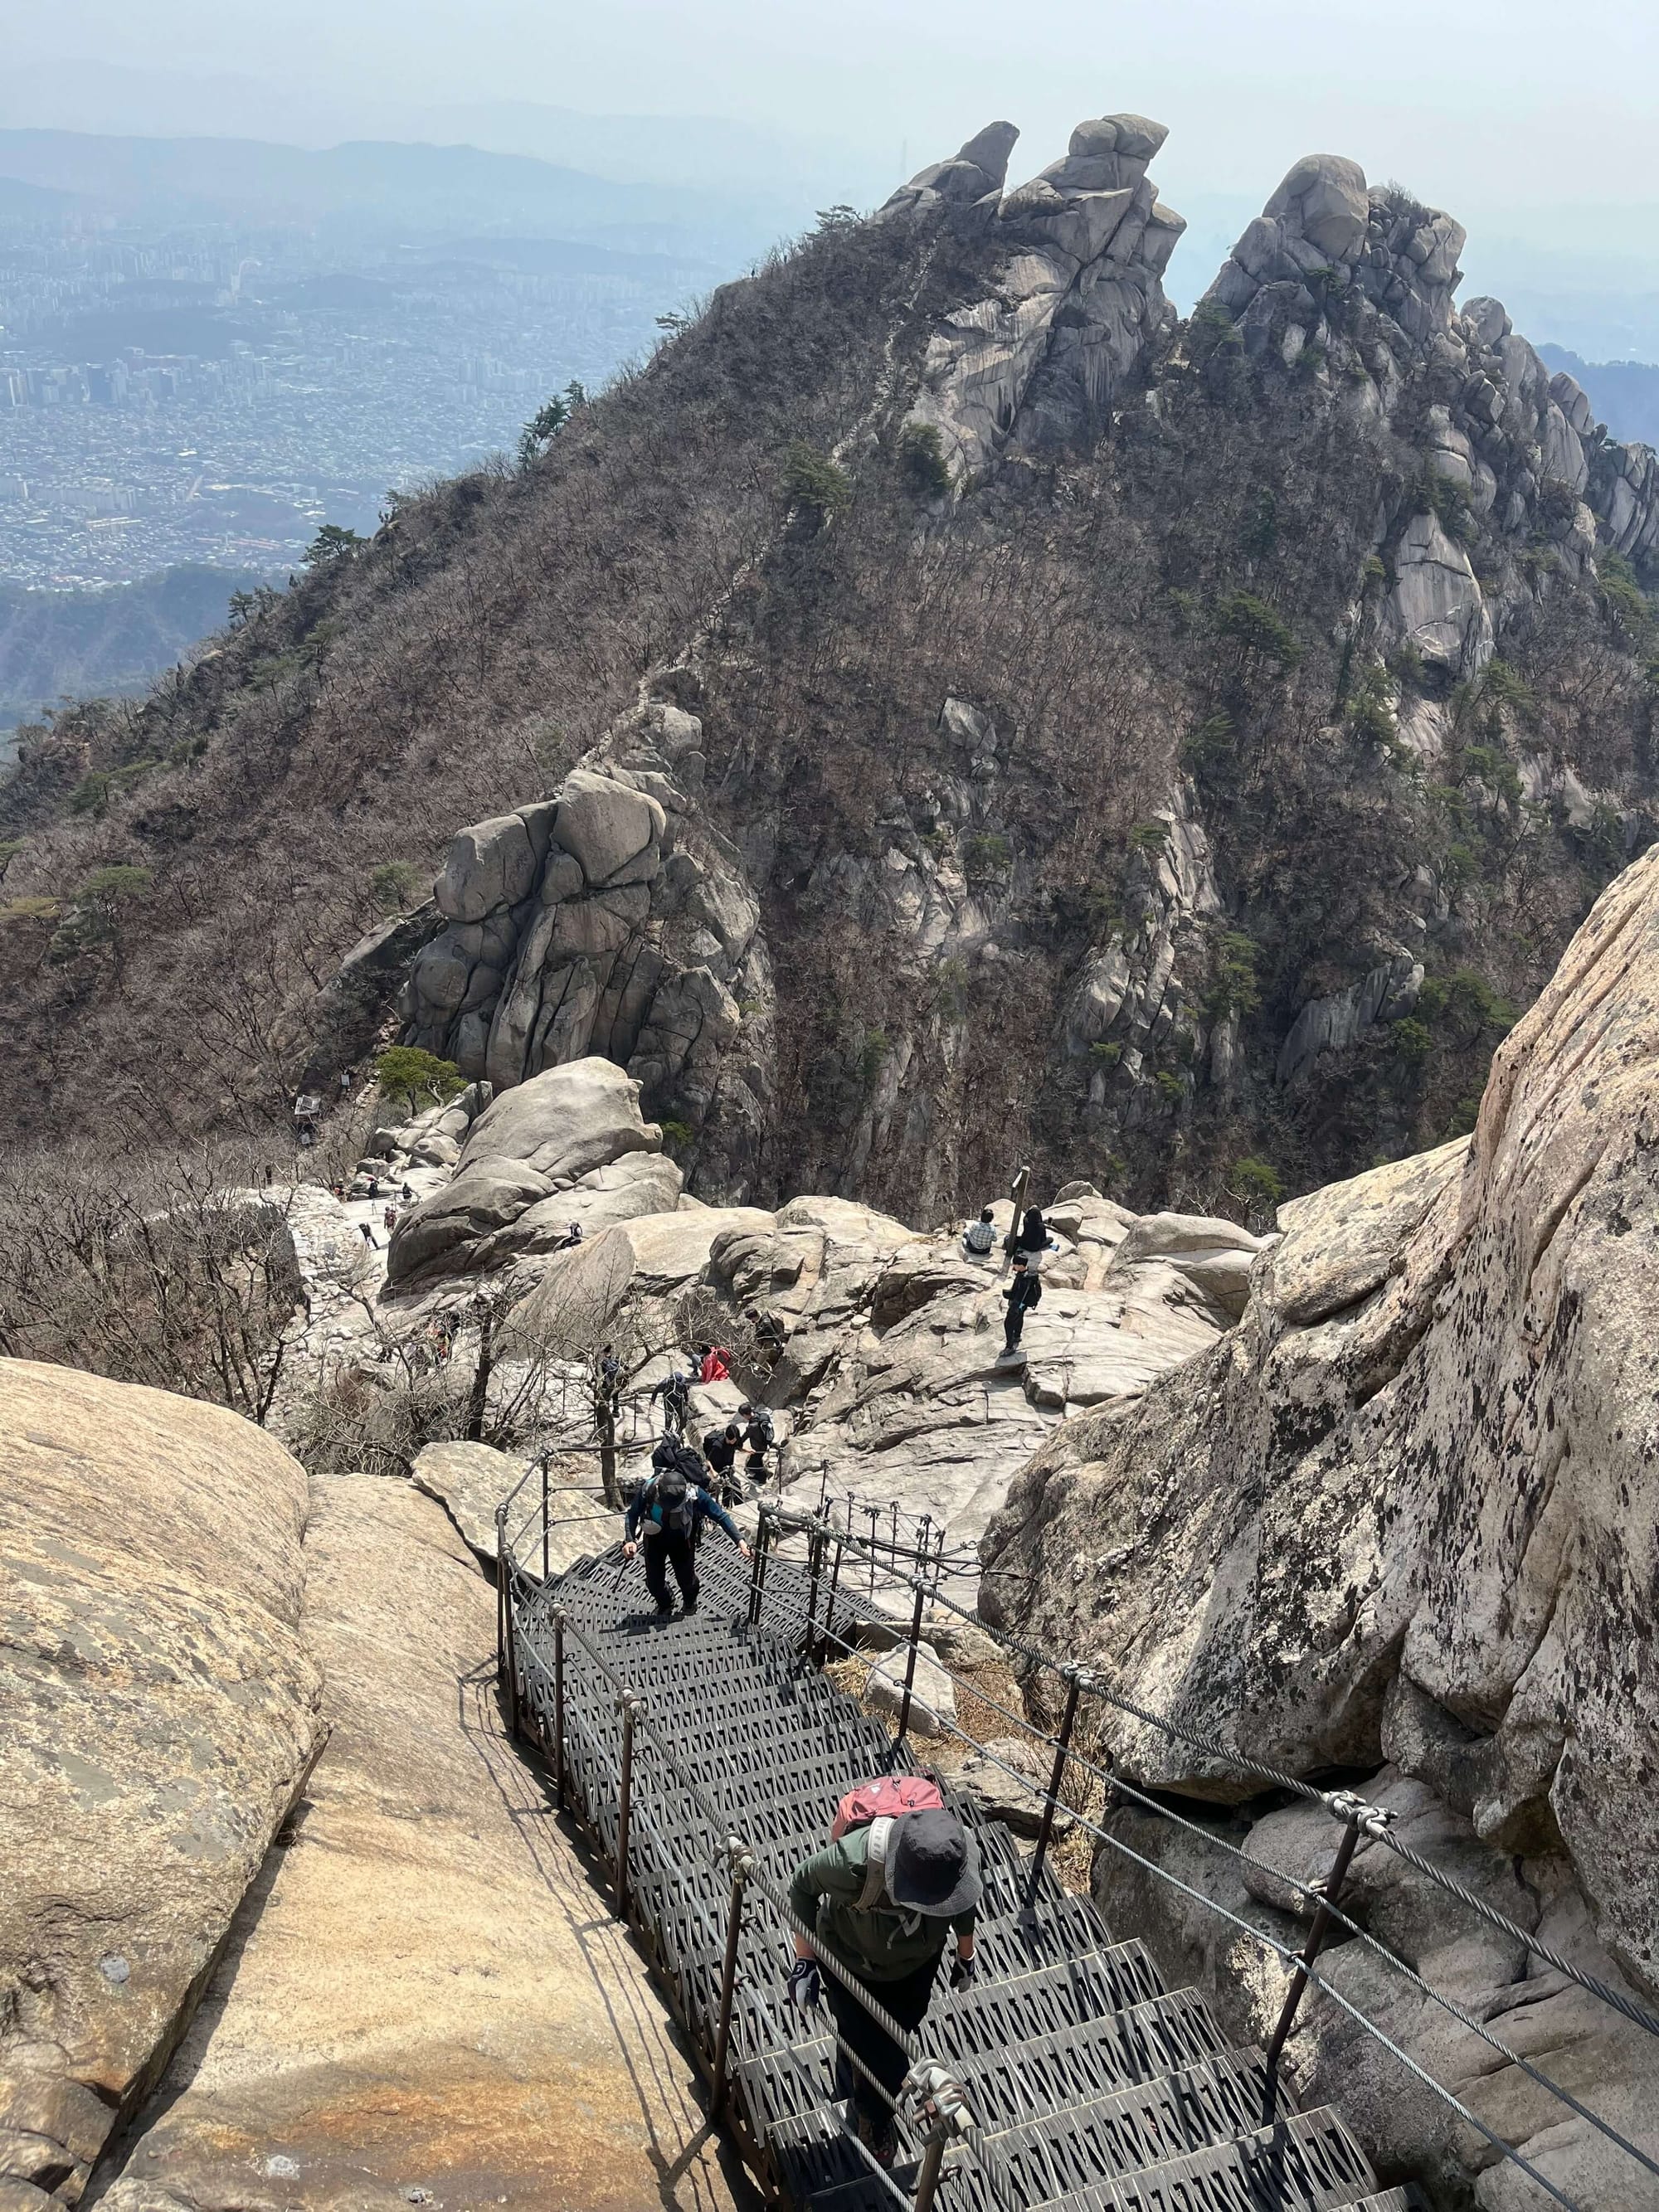
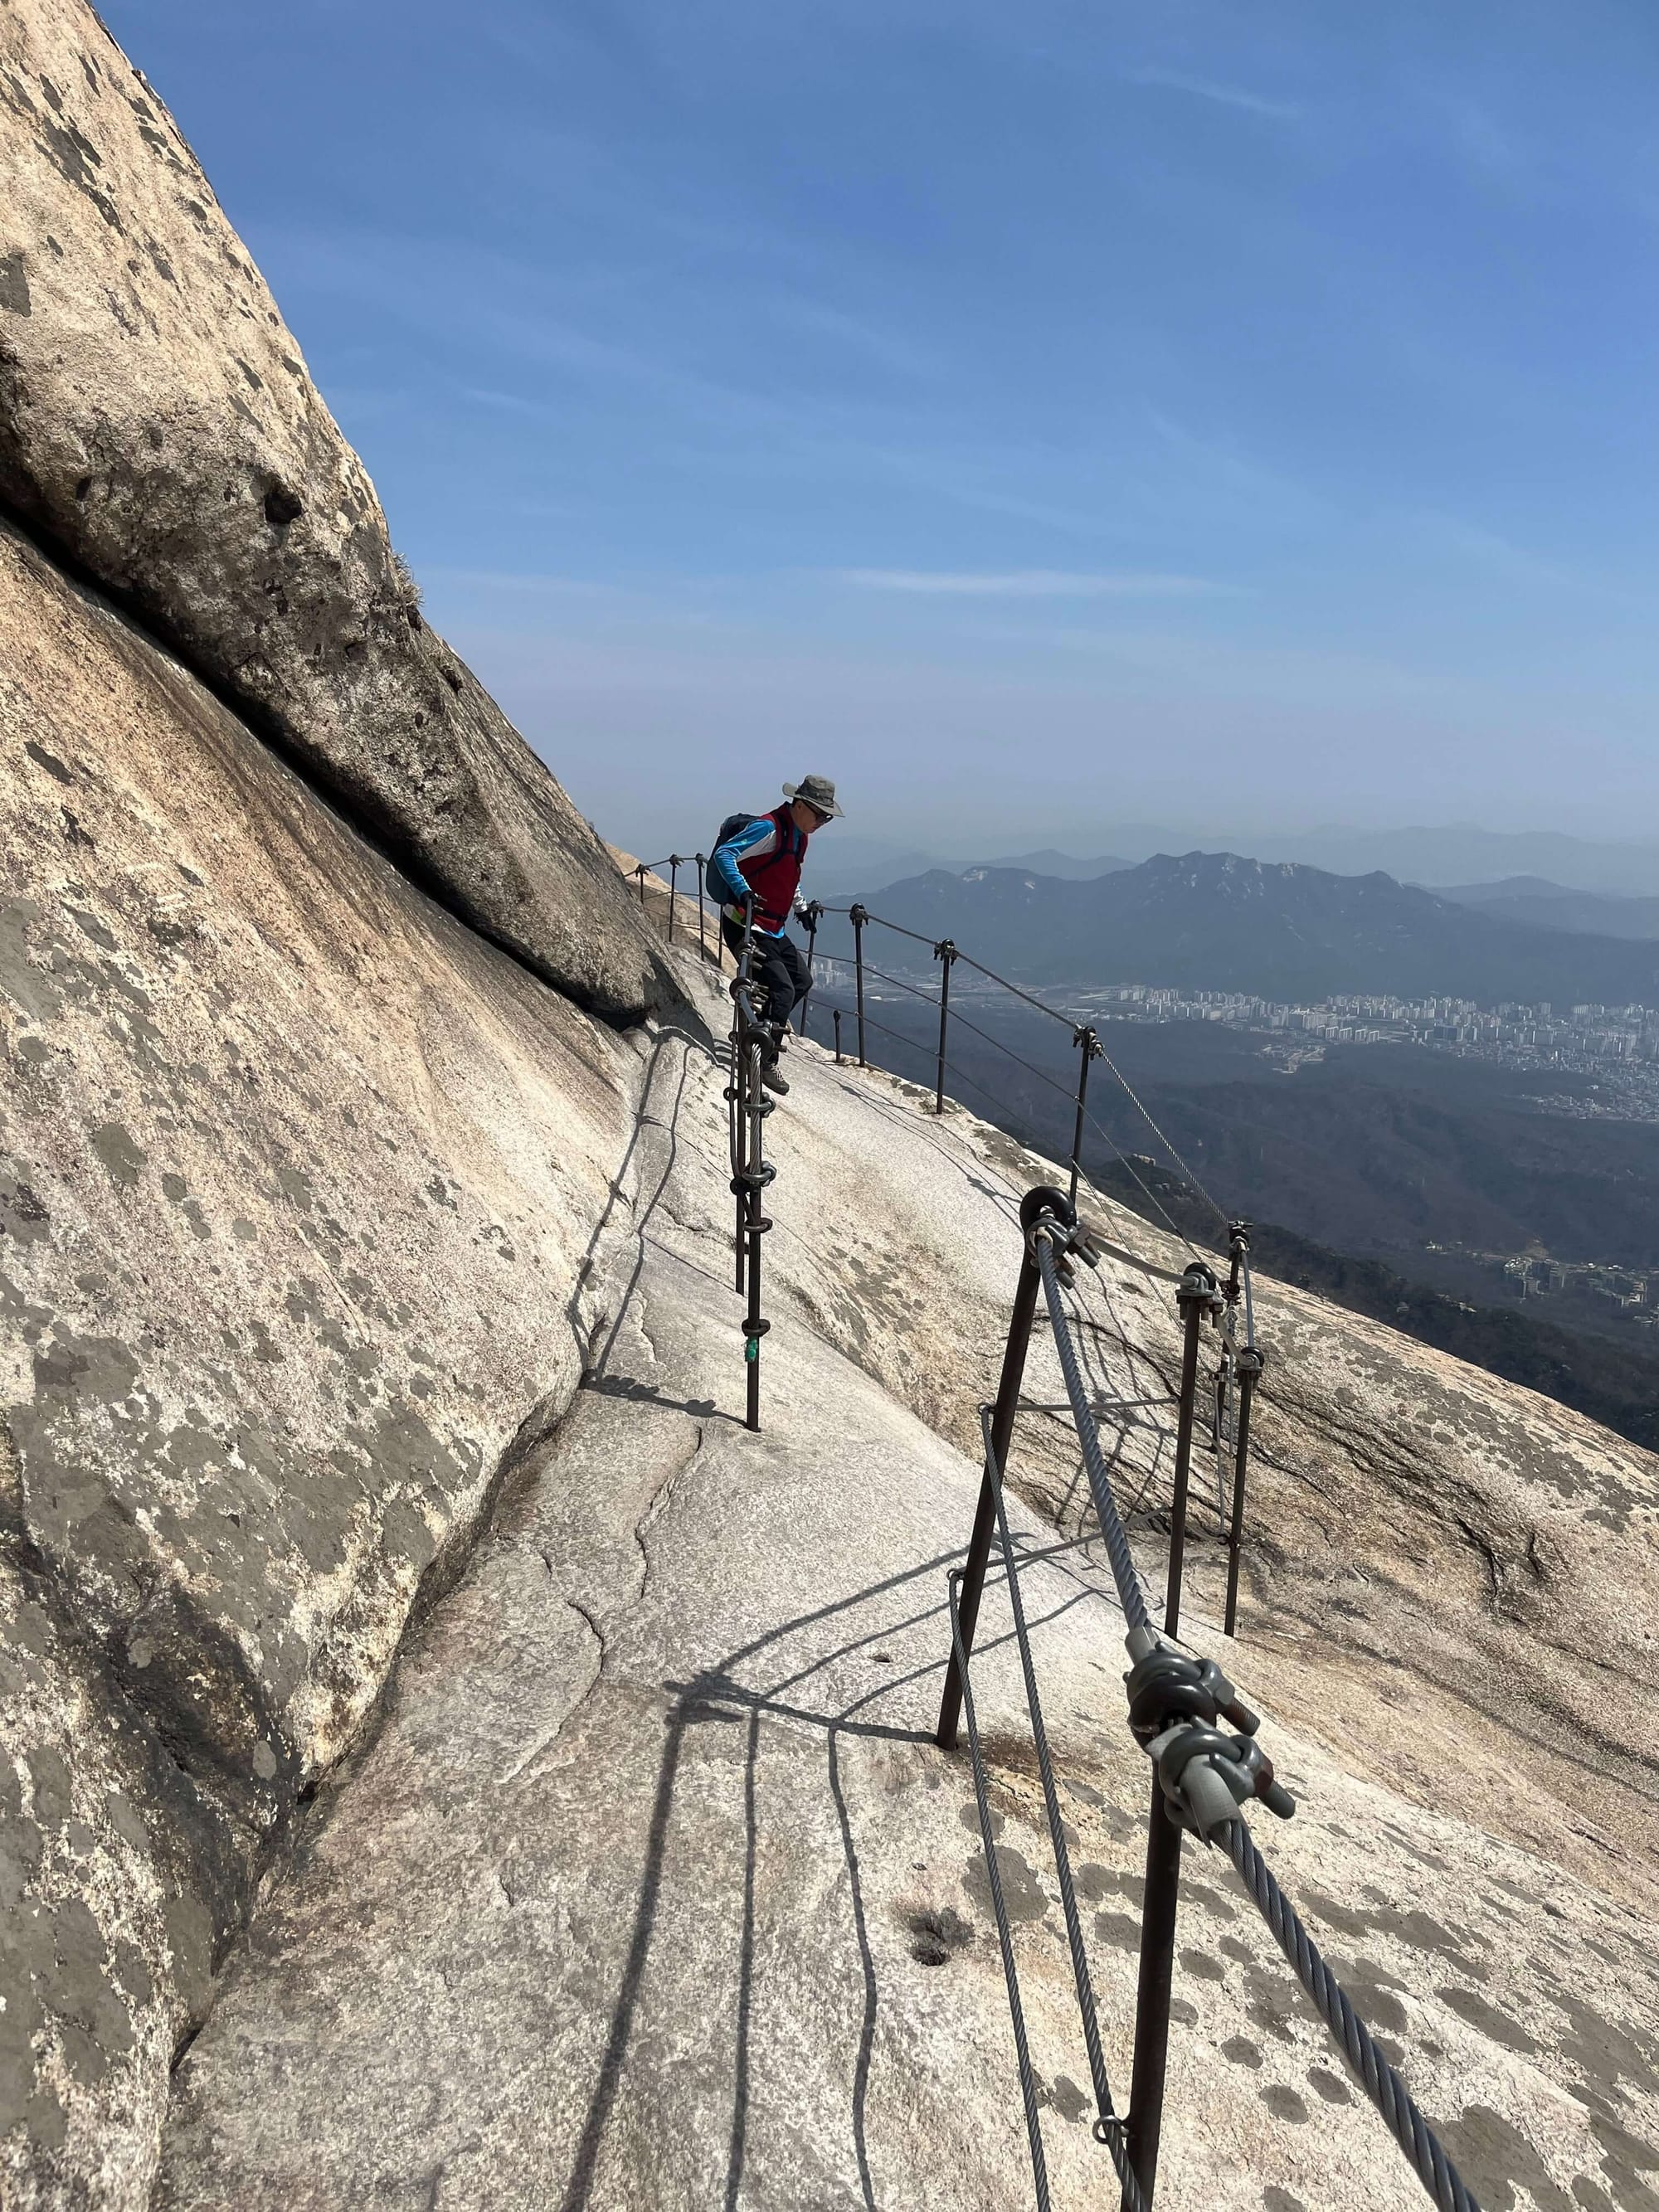
After a long stretch of climbing using my hands, I reached the summit!
Baegundae Peak - Highest point in Seoul
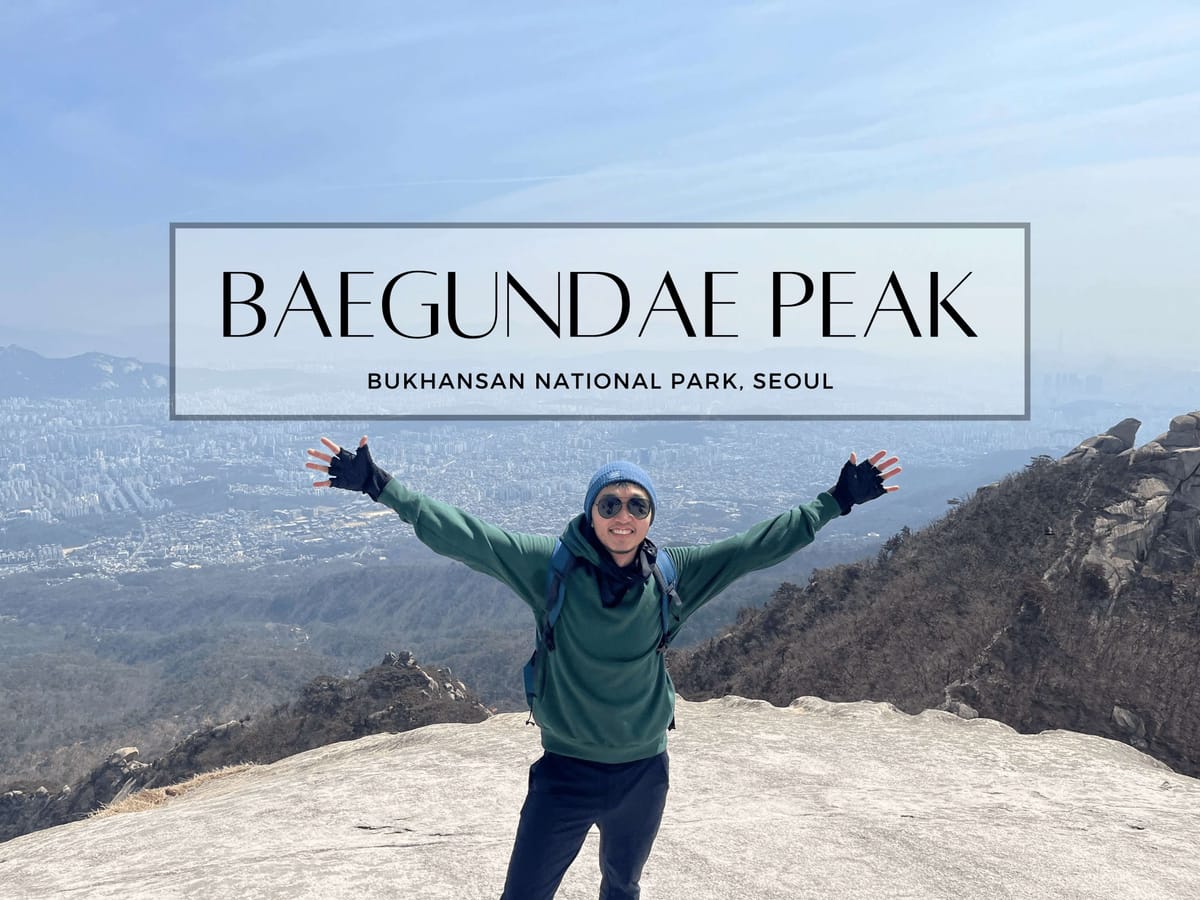
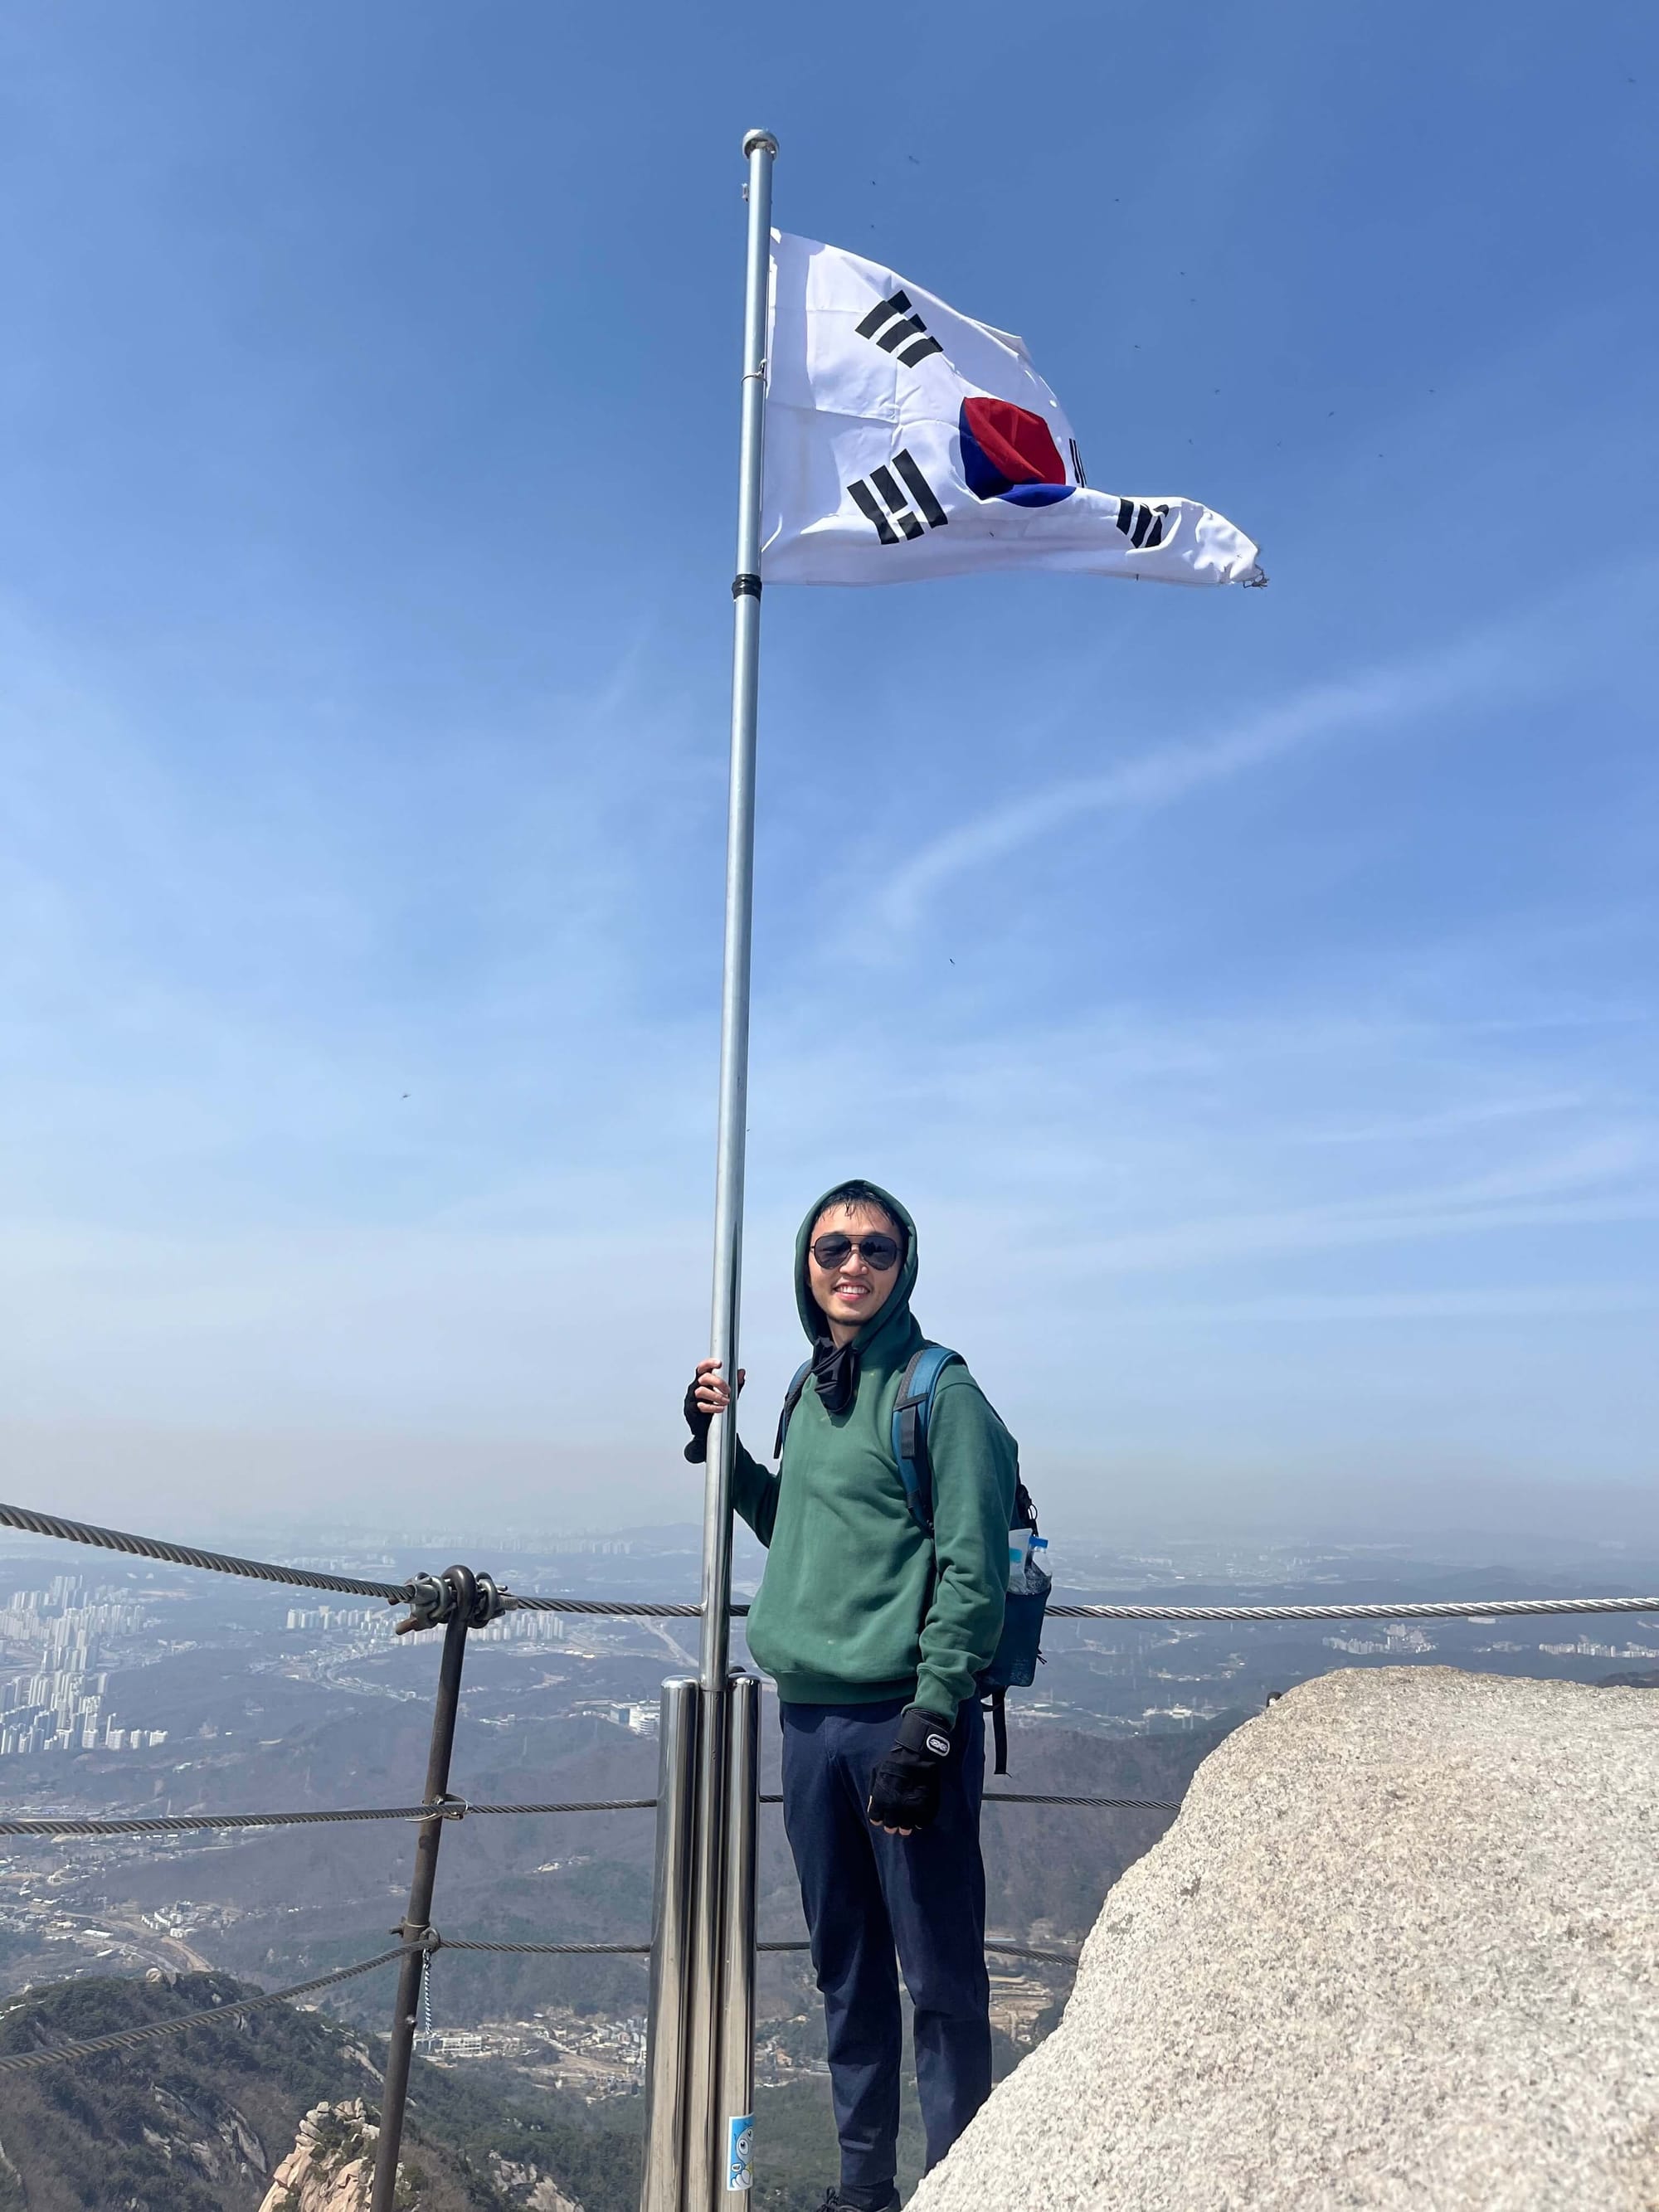
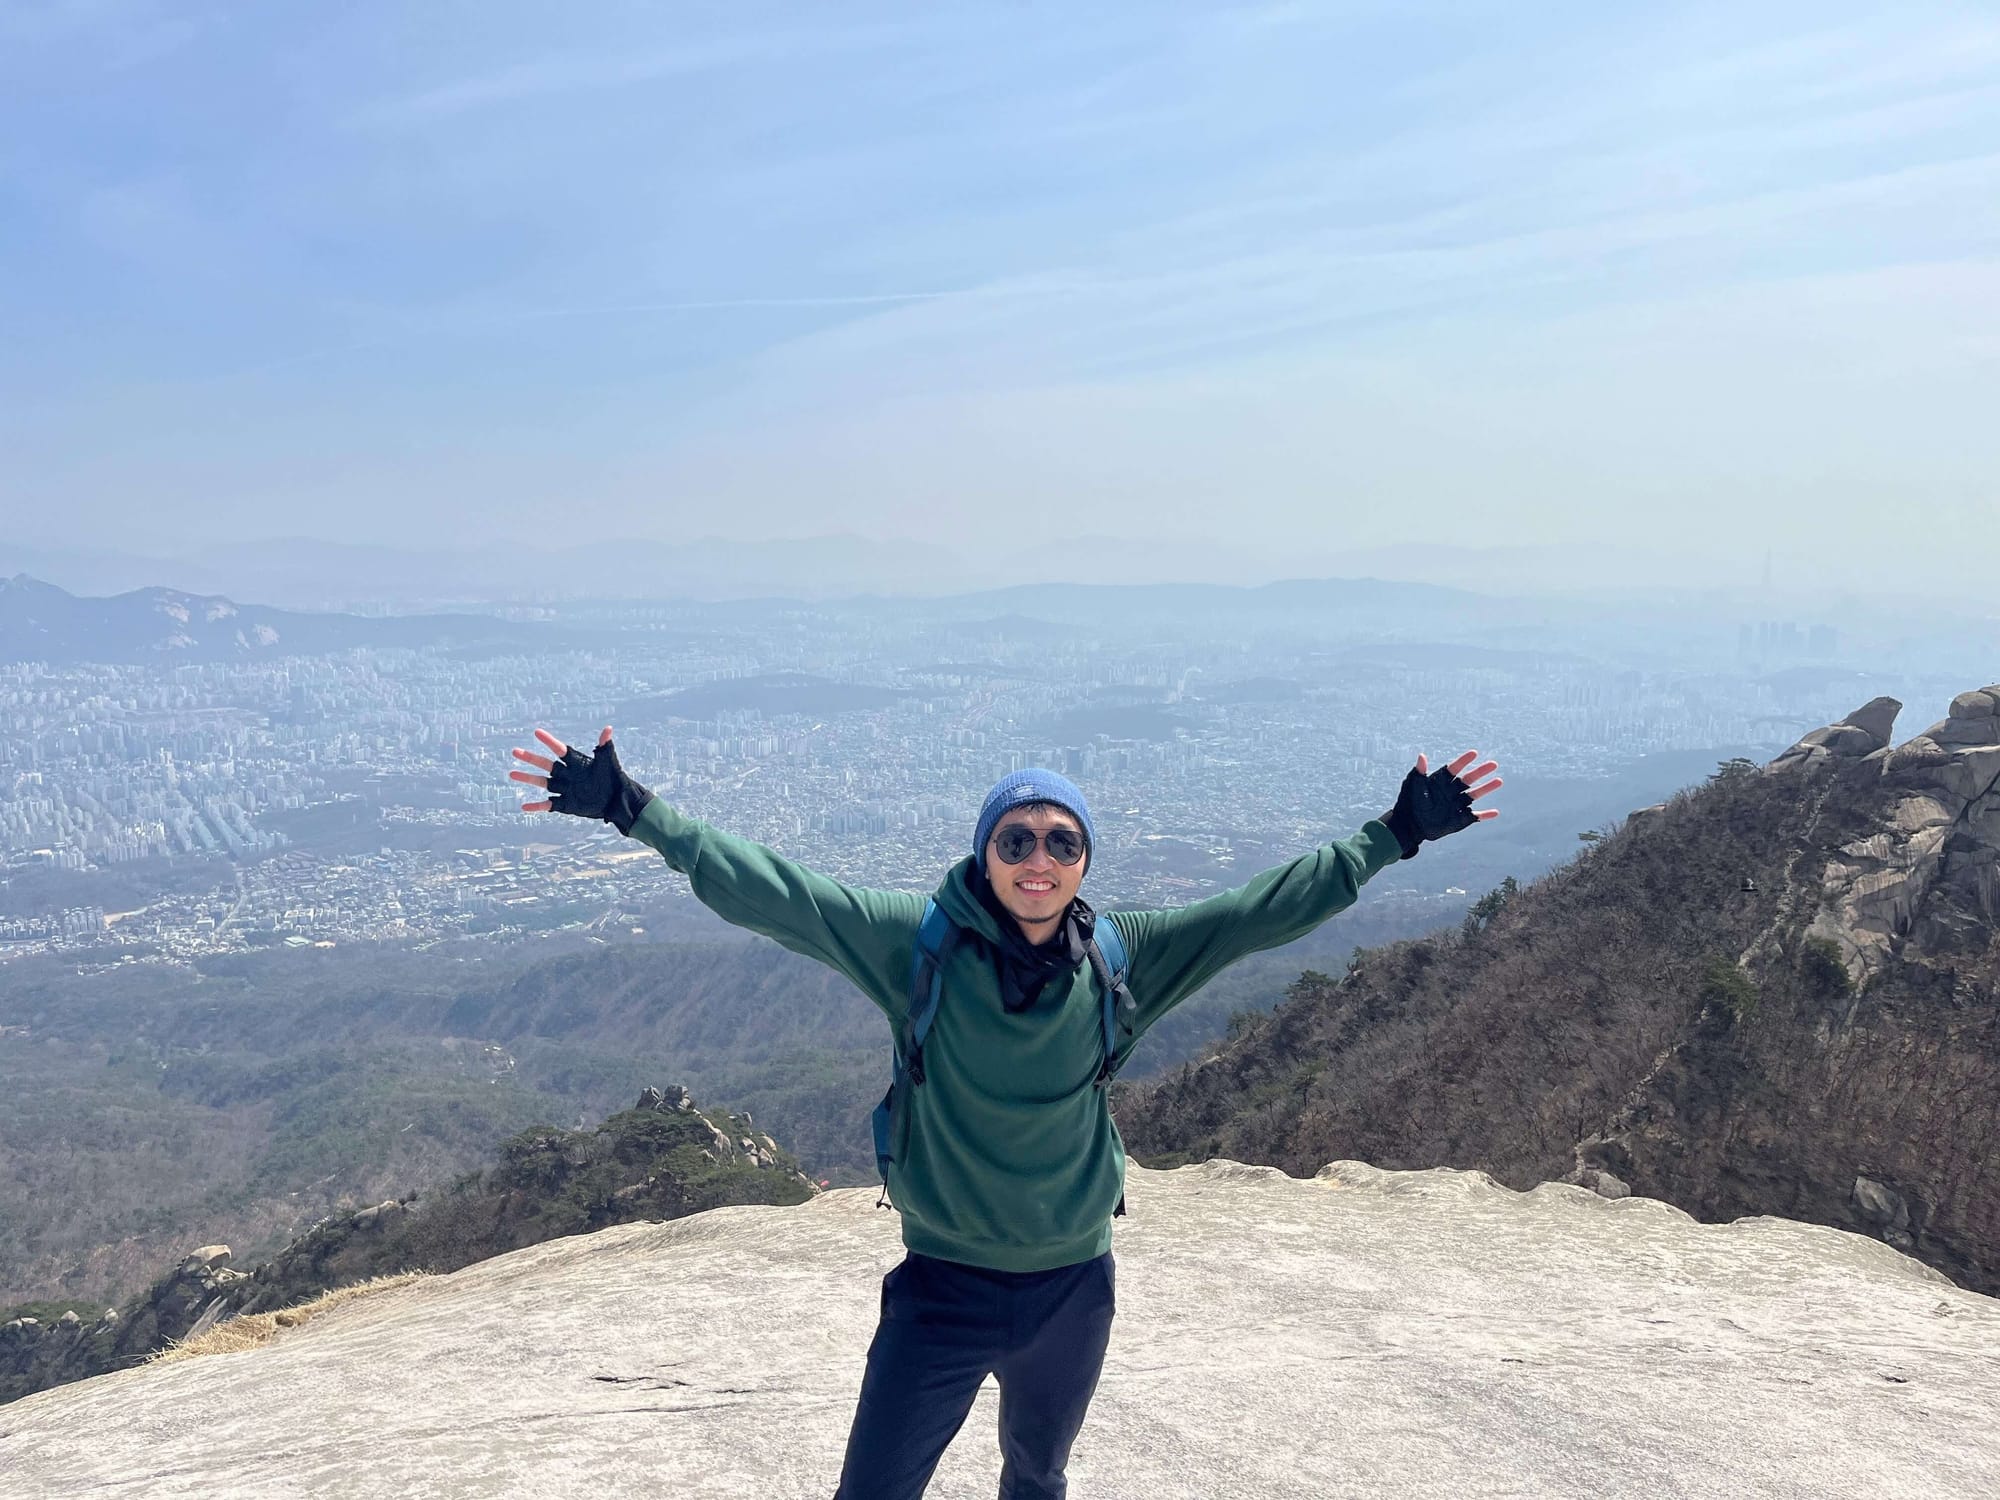
The view was breathtaking—a panoramic vista of the entire city of Seoul and the surrounding mountains. In that moment, all the struggle and fatigue faded away. I snapped a few summit photos, but a part of me couldn’t help but feel a tad underdressed for the occasion.
The summit itself features a South Korean flag, where hikers (myself included) squeezed in line for a photo-op. There’s also a wide, smooth rock area, roped off but mostly ignored by hikers looking for a place to sit down for lunch.
I would also recommend anyone attempting the hike to wear shoes with strong traction. The rocks at the top have been worn smooth over time, and with the steep drop-off, solid traction makes all the difference.
Descending Bukhansan
I chose to descend via the East route, which was steep and lacked resting points. I encountered many people hiking up who looked totally exhausted just 30-40% of the way.
Once I reached the foot of the front route, I realized I still had a 30-minute walk to the nearest own (Ui-Dong Town) or subway station (Bukhansan Ui Sunbway Station). All I could think about was food and rest at this point.
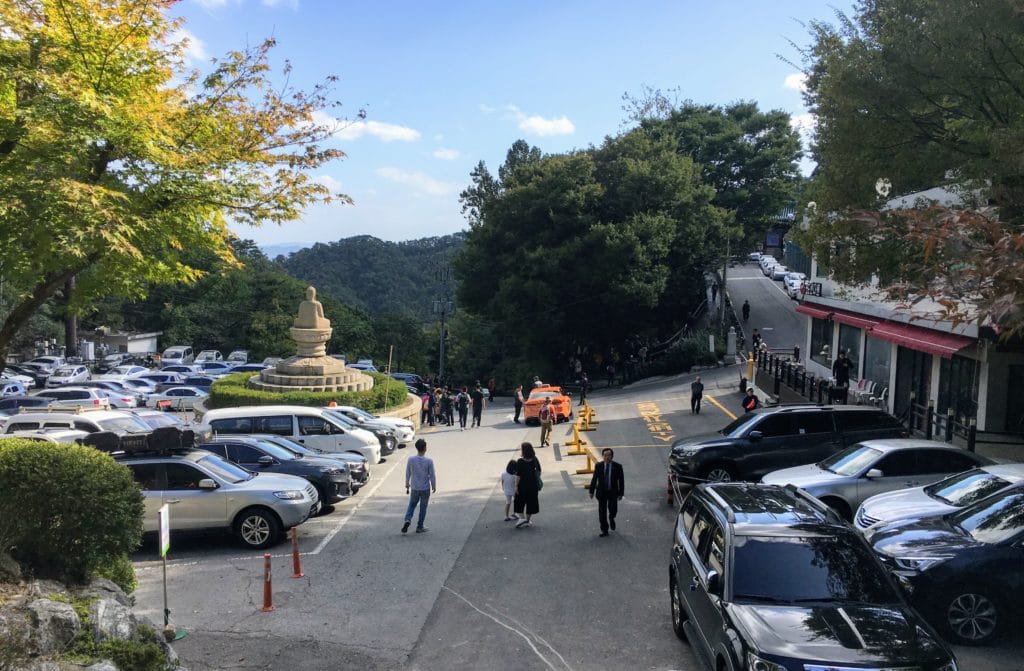
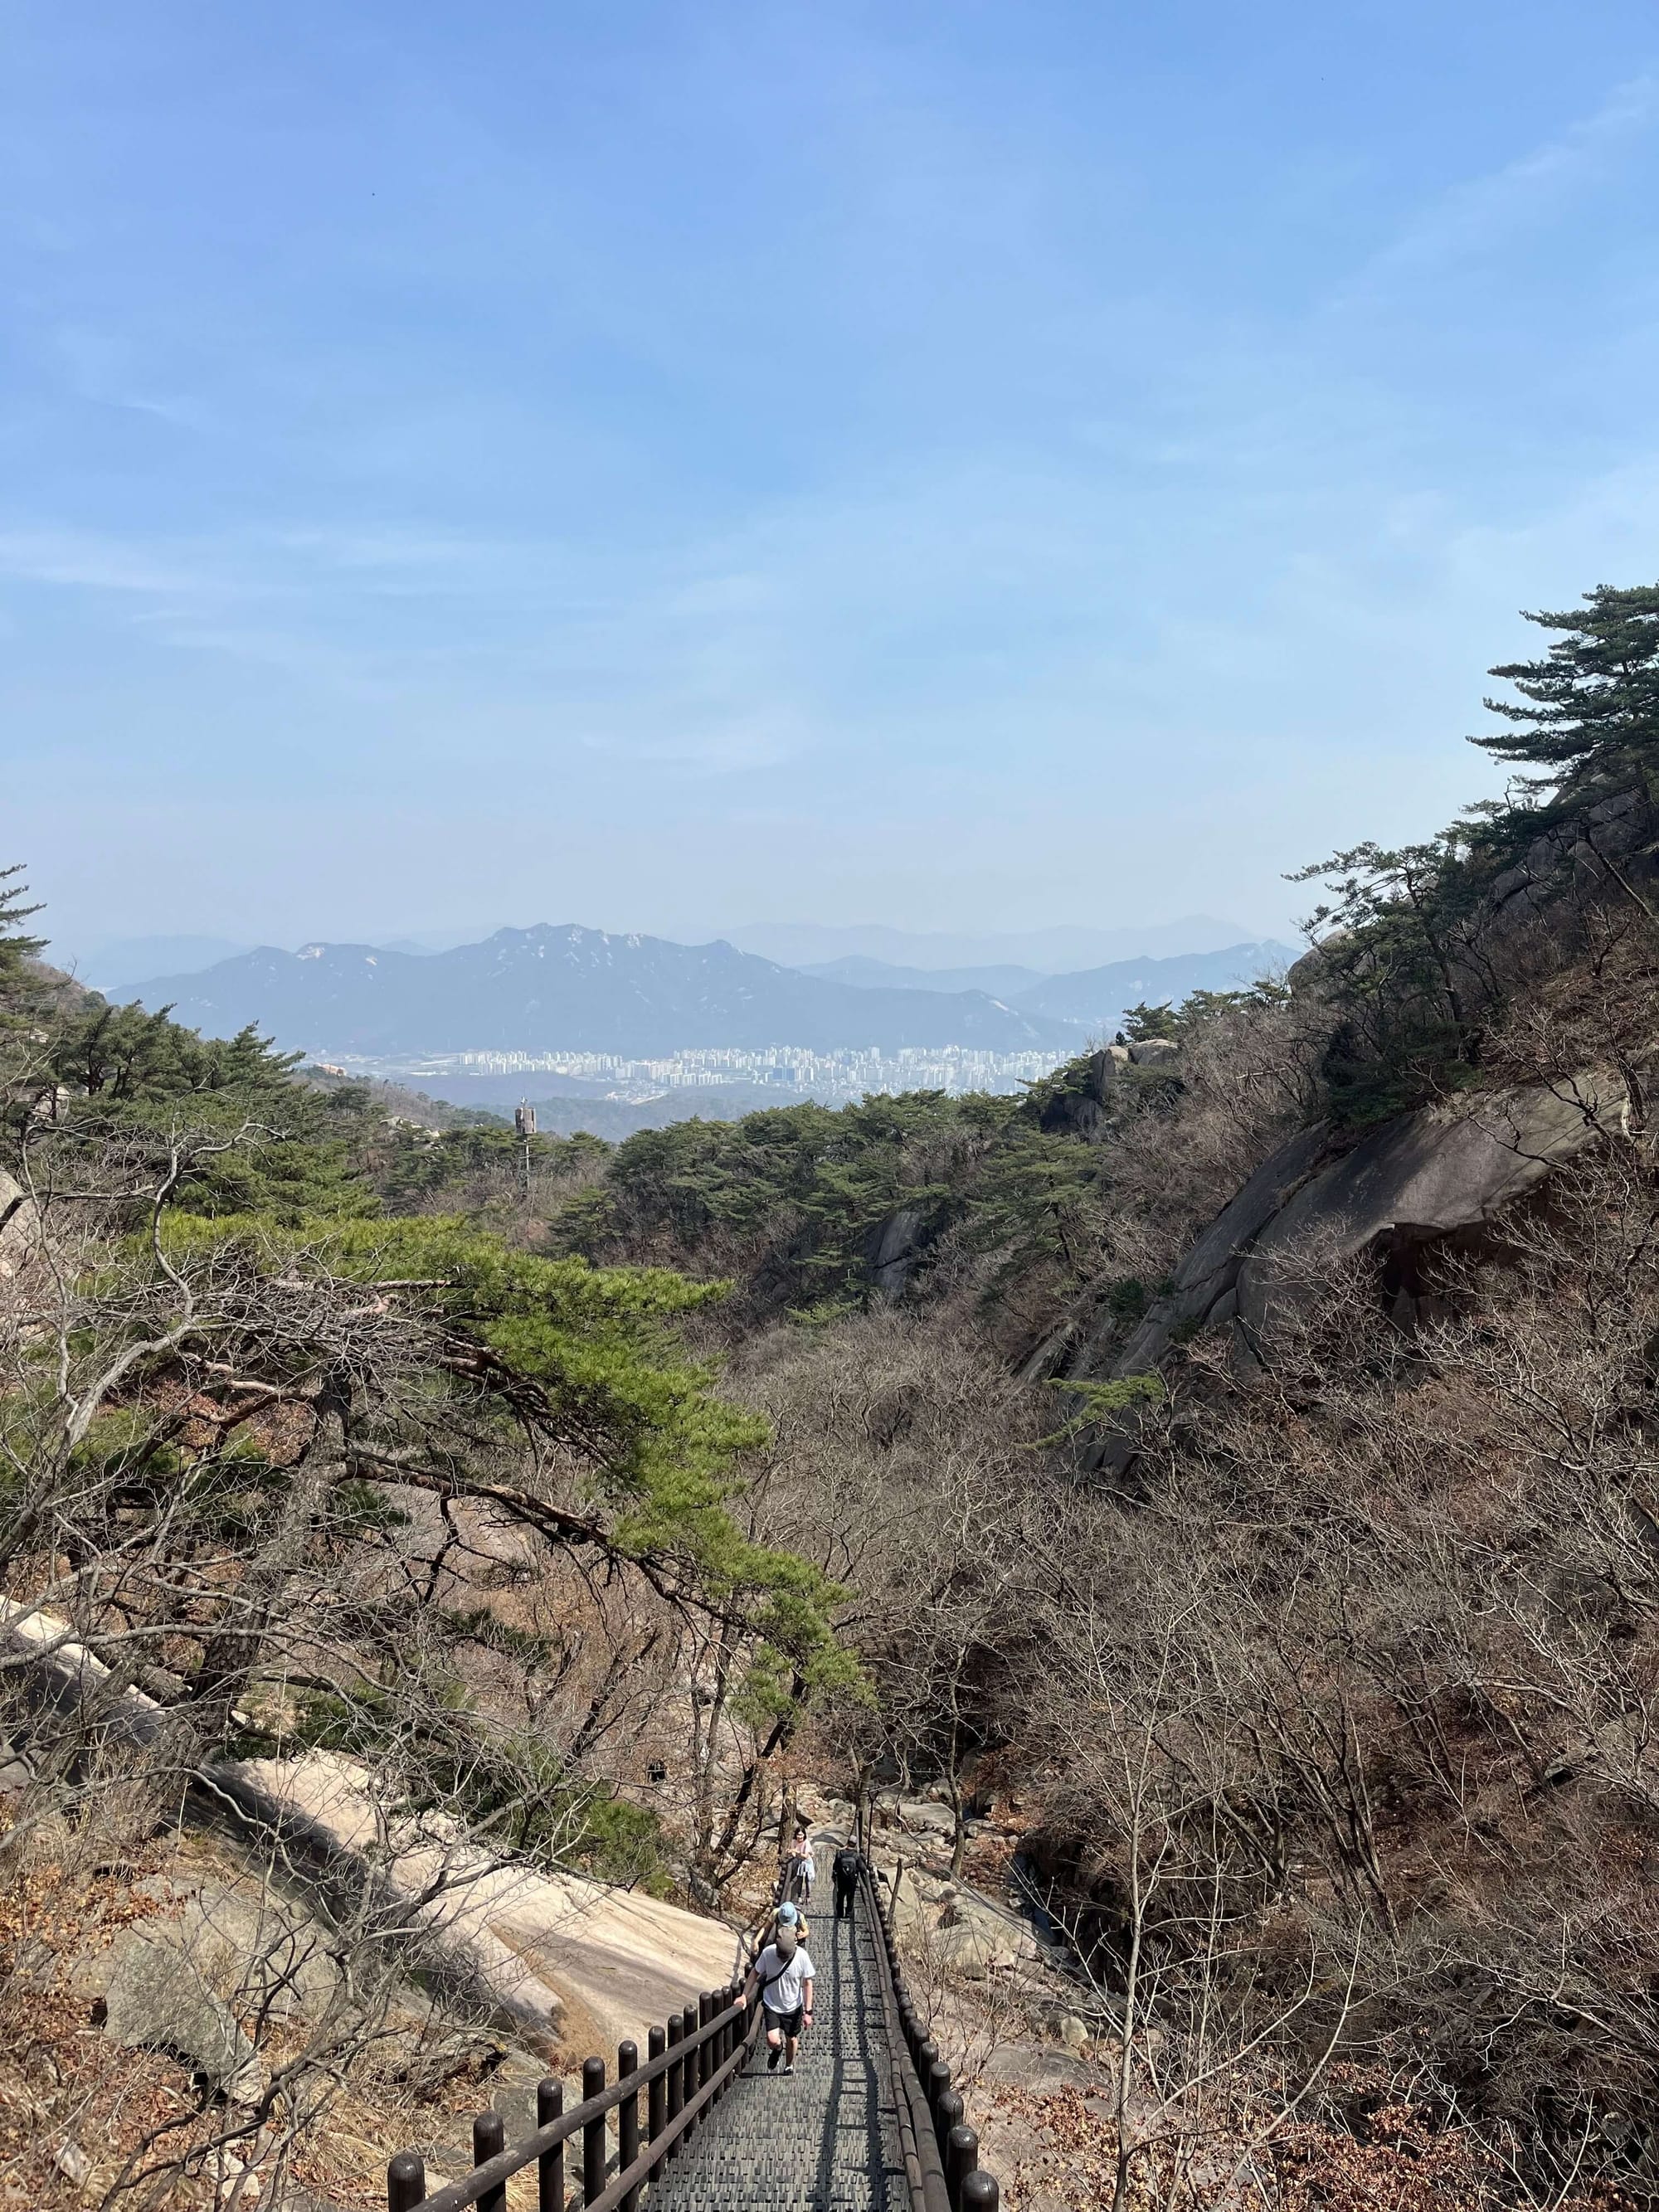
Right photo credit: erikastravelventures.com/baegundae-summit-hike
The hike up took around 2.5 hours, with the descent a quicker 1.5, as I picked up the pace on the way down. All in, it was a solid 4-hour round trip, but I’d suggest anyone giving this hike a go should plan for at least 6 hours.
Between spending 30 minutes at the summit and factoring in 1-2 hours of travel time back and forth from your place in town, it’s a full morning or afternoon commitment.
After the descent, I went back to my hotel for a late lunch and took a much-needed nap.
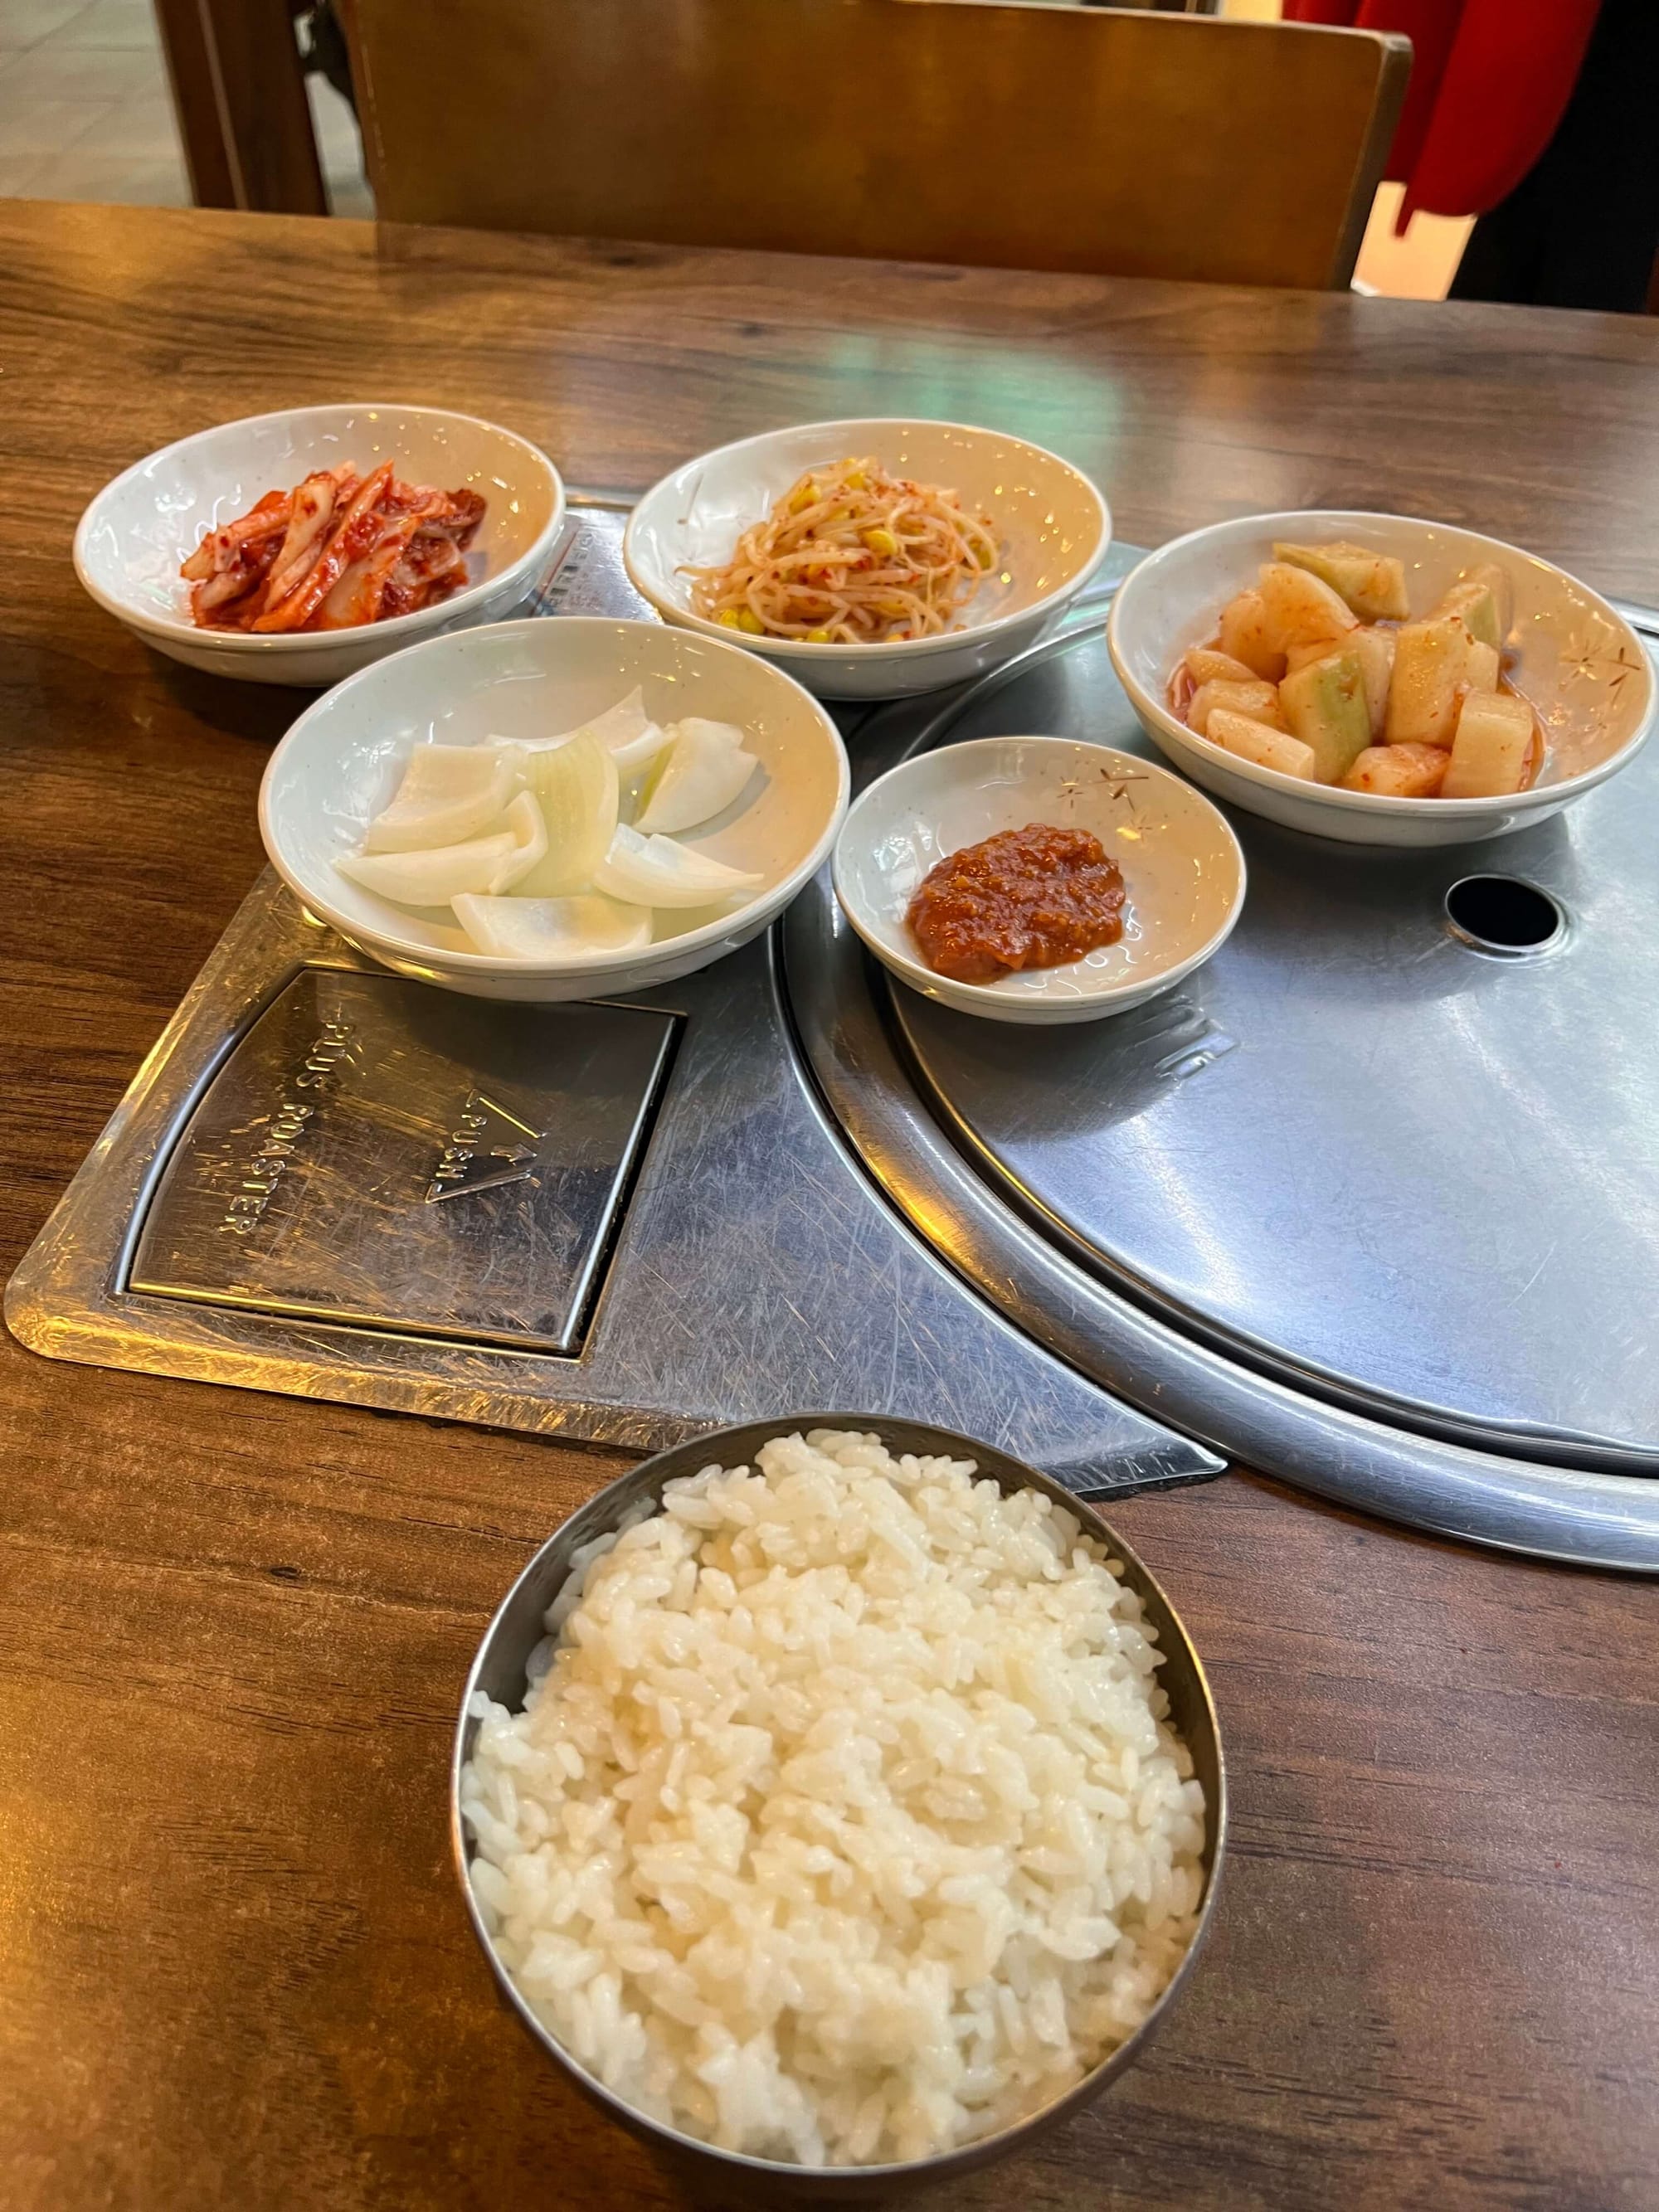
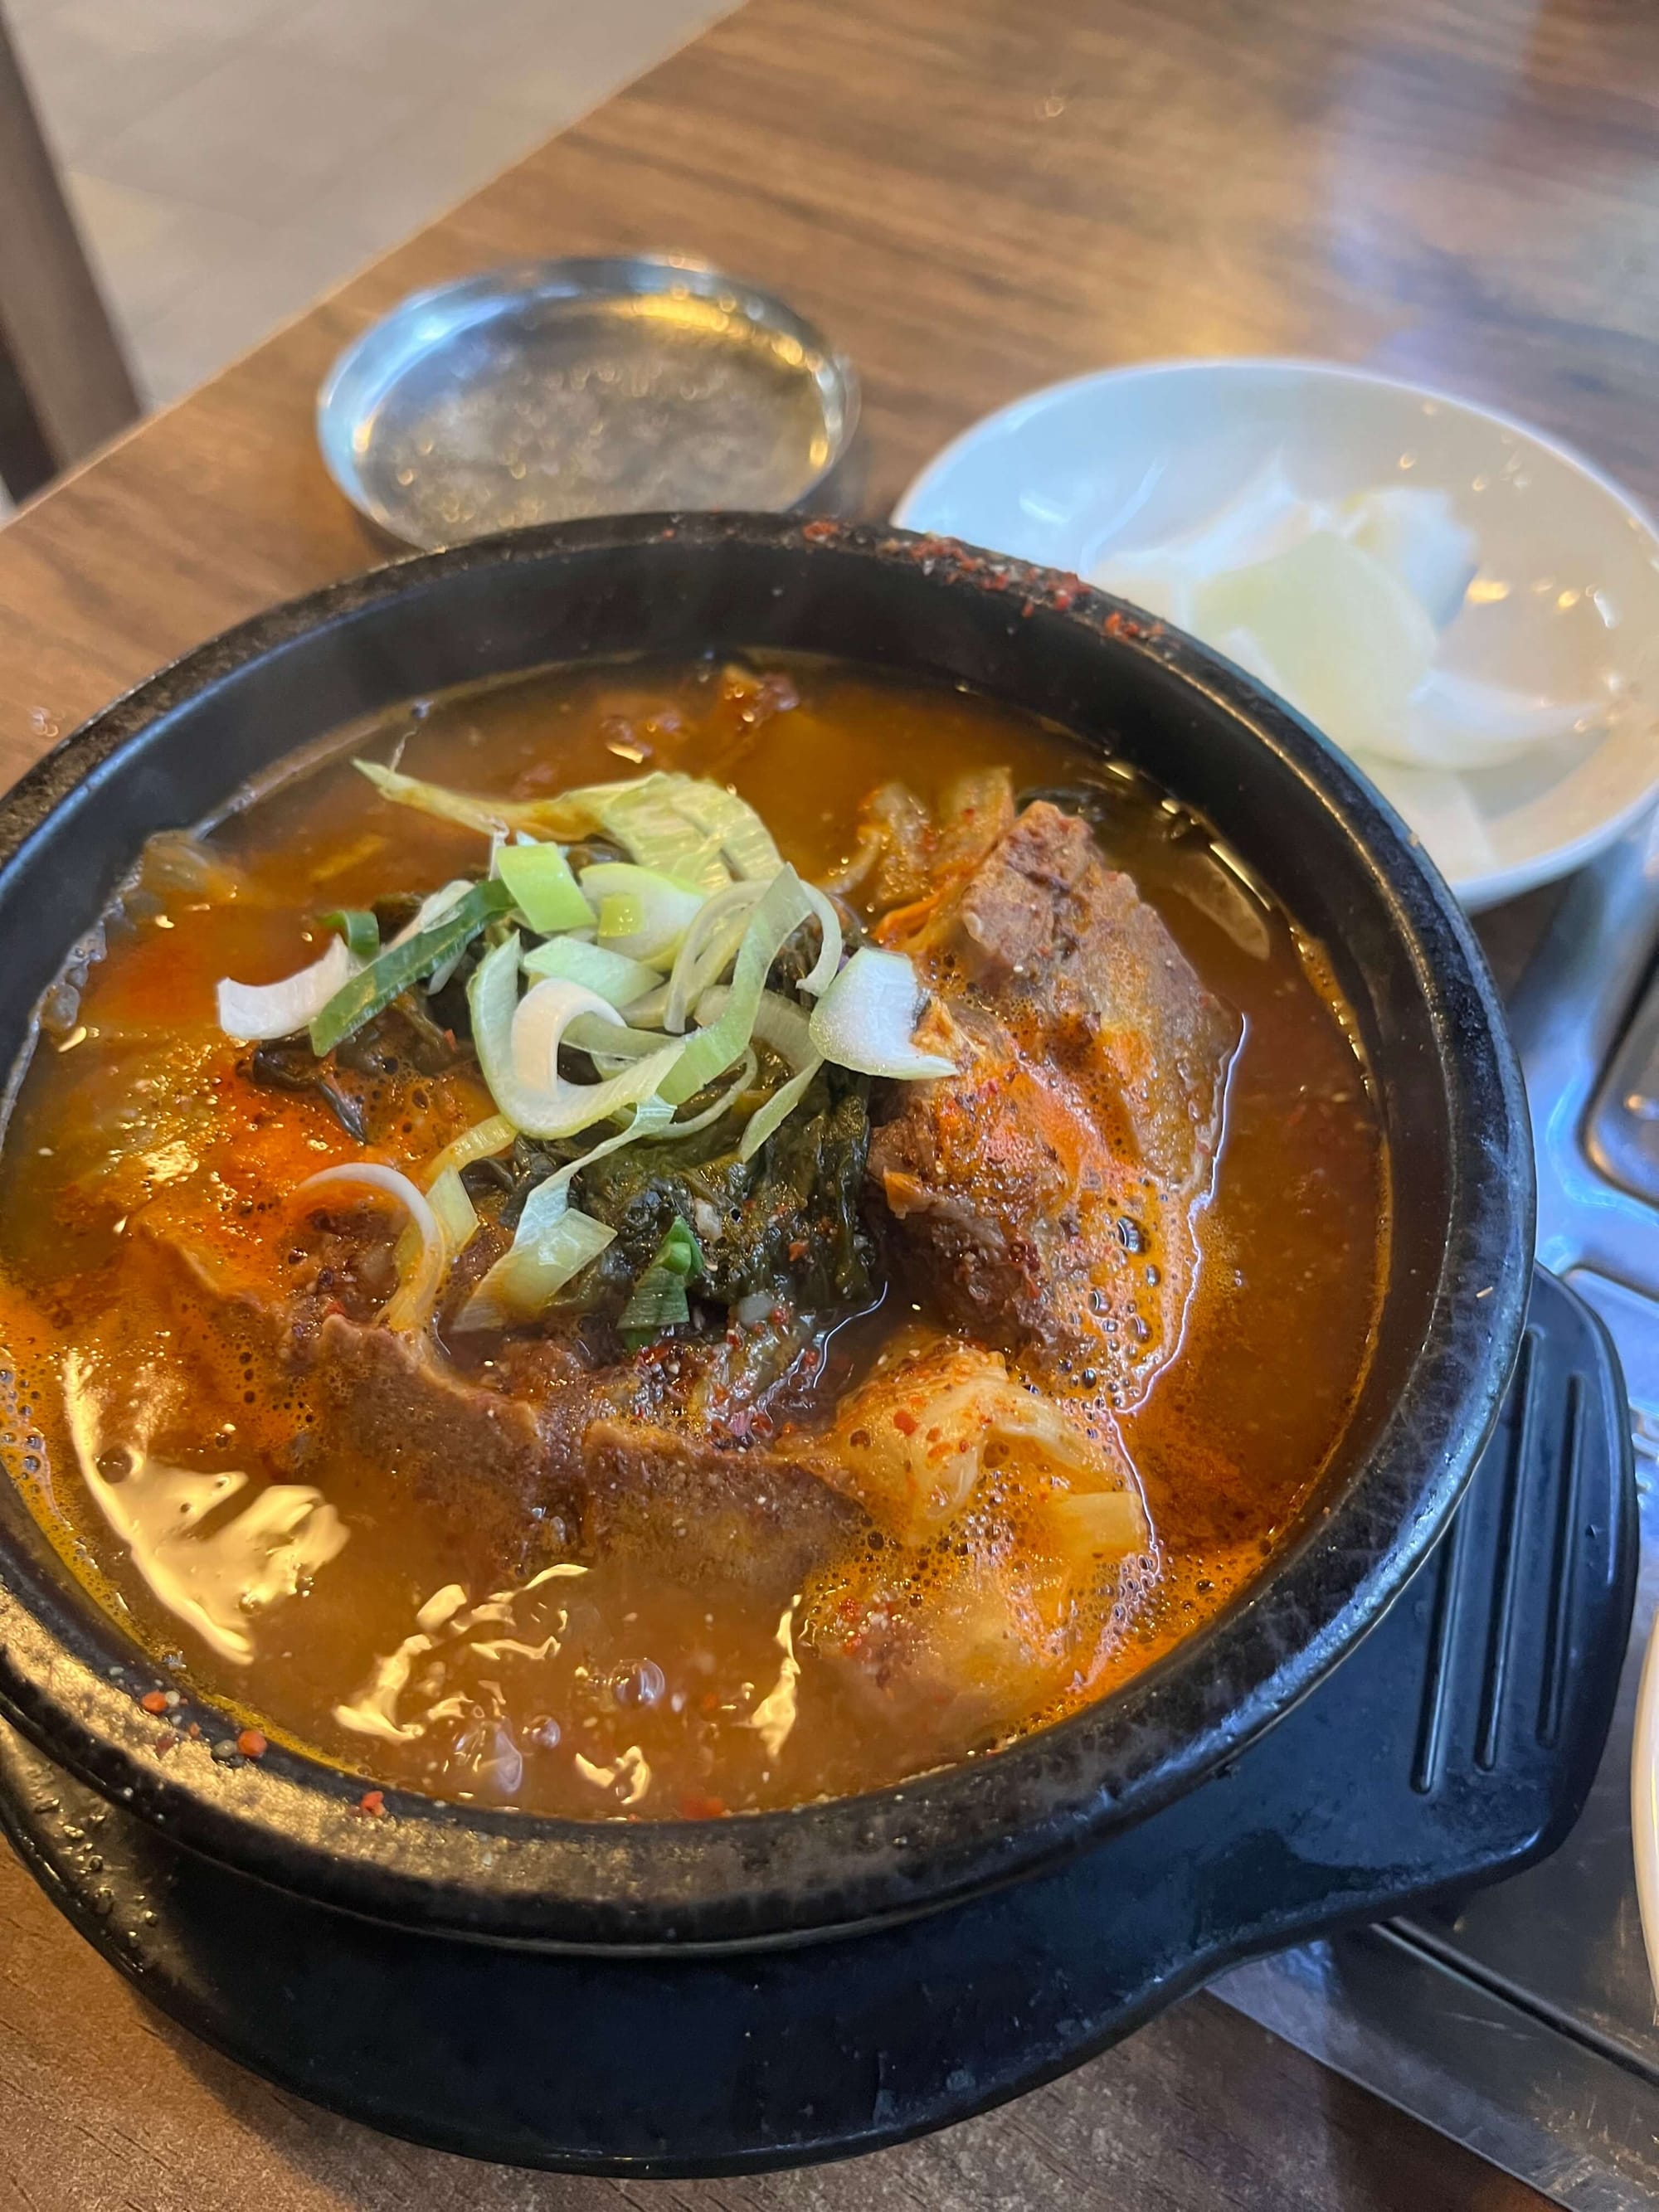
After my nap, I spent the rest of my day exploring Hongdae's shopping district.
Thoughts on hiking Baegundae Summit
Looking back, the hike was a great experience. Despite nearly veering off track at the West entrance, the quiet of the forest and gentle paths made for a peaceful start. The final push to the summit, though, was challenging, so a bit of fitness definitely helps here.
This hike offers a refreshing break from Seoul’s city rush. If you are tired of eating K-BBQ or shopping at Olive Young, and given Bukhansan's close proximity to Seoul, I would recommend budgeting half a day for Bukhansan's Baegundae peak hike in your itinerary.
And if you're planning a longer stay, check out my post on 5 Days in Seoul for more ideas besides hiking Bukhansan & Baegundae!


